Last updated November 21, 2026
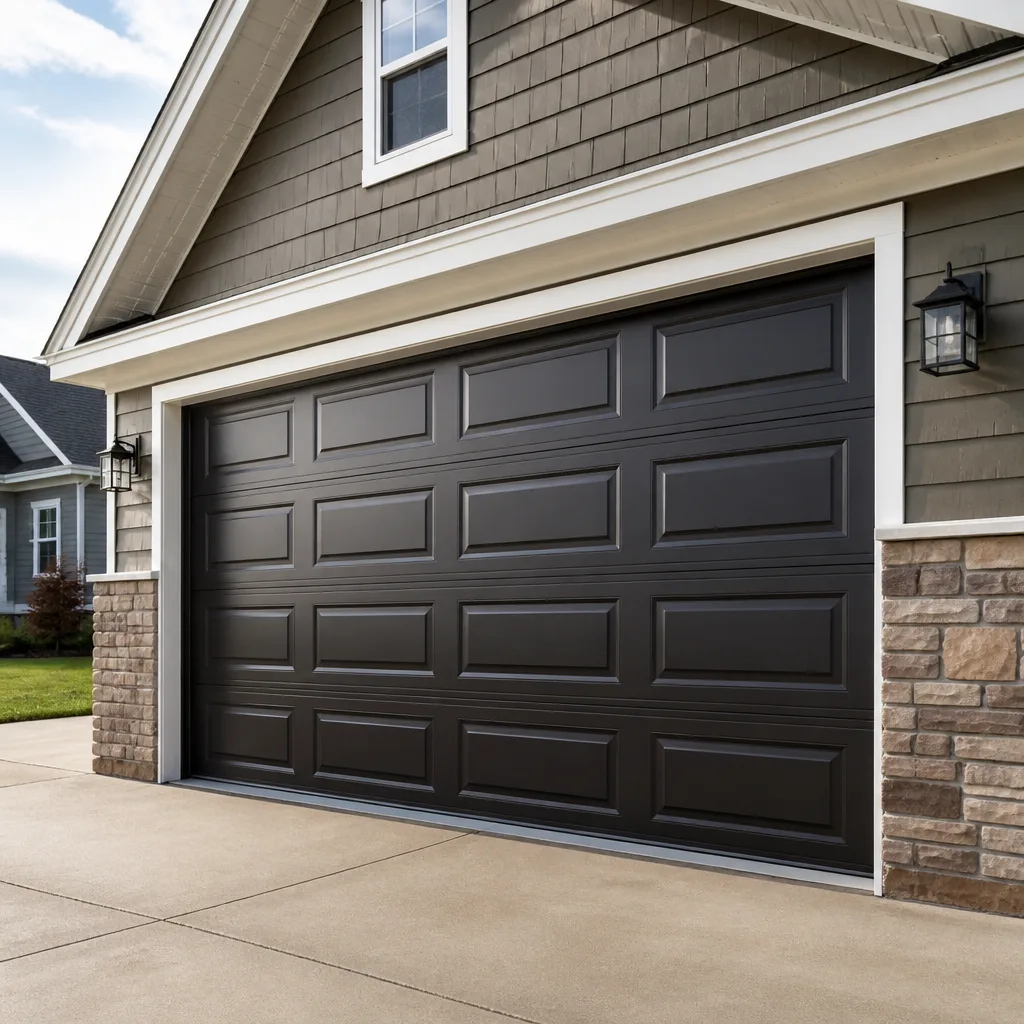 Raised-panel steel
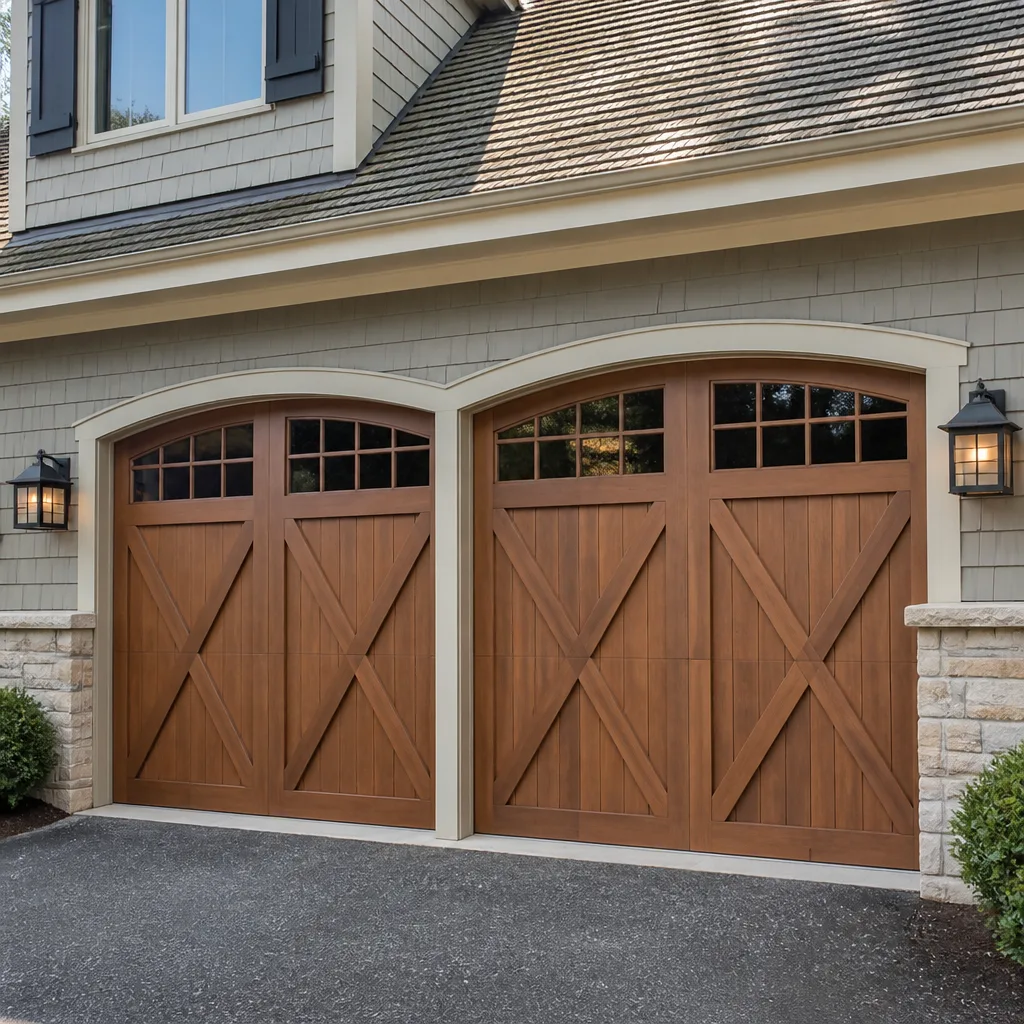 Carriage house
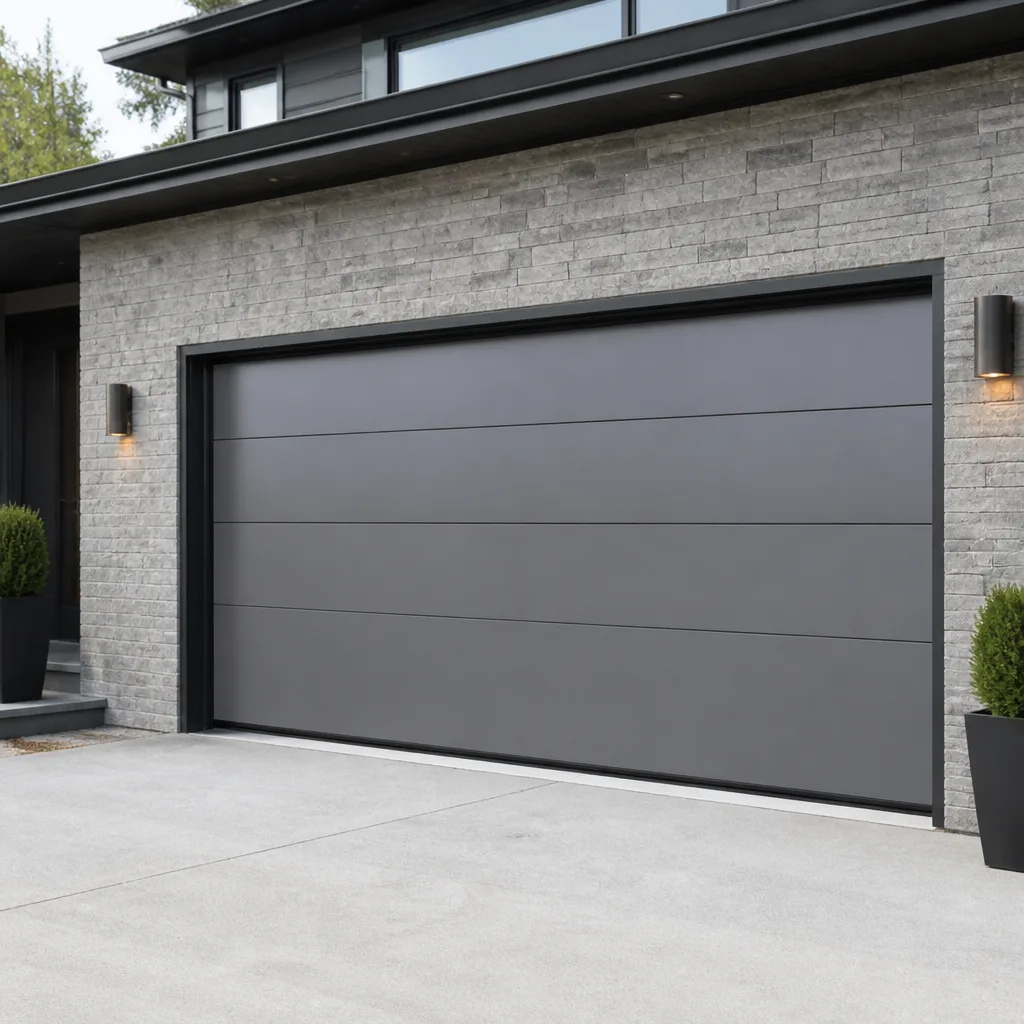 Modern flush
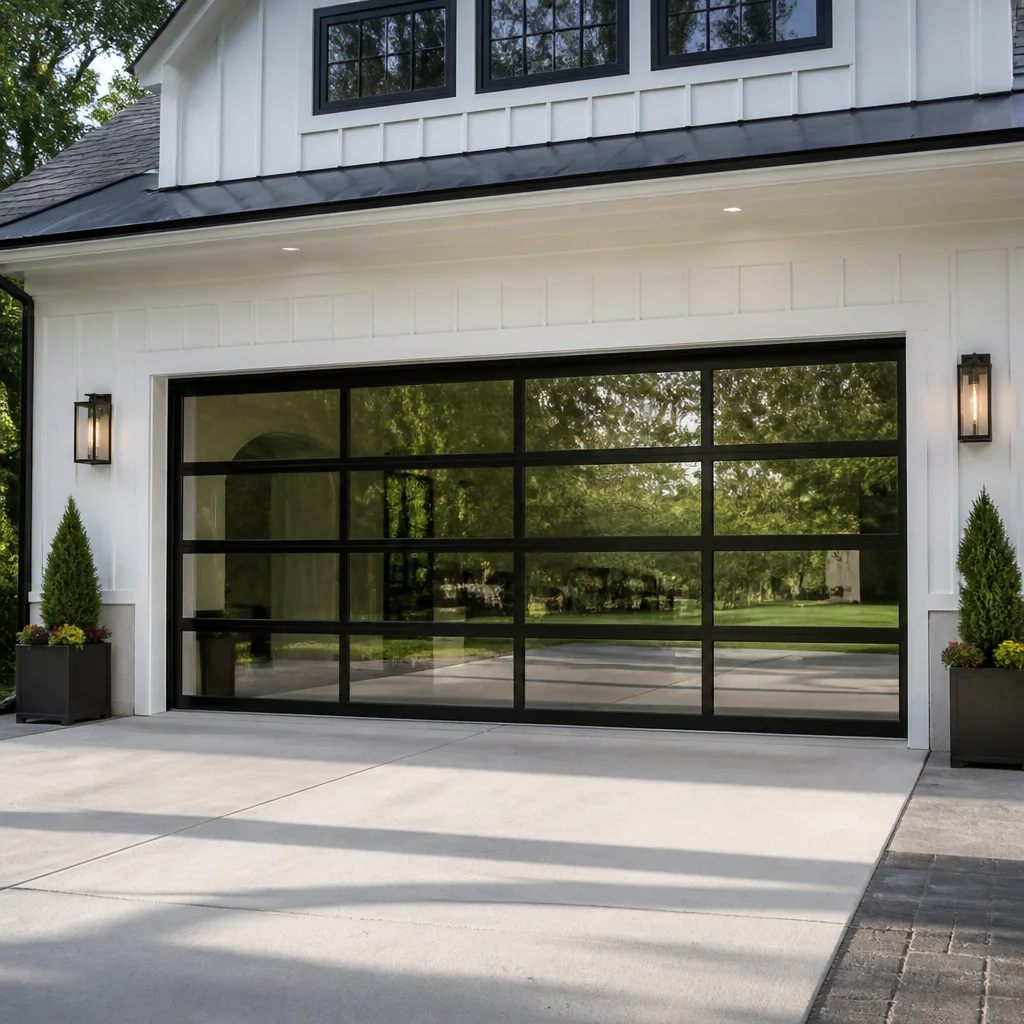 Full-view glass
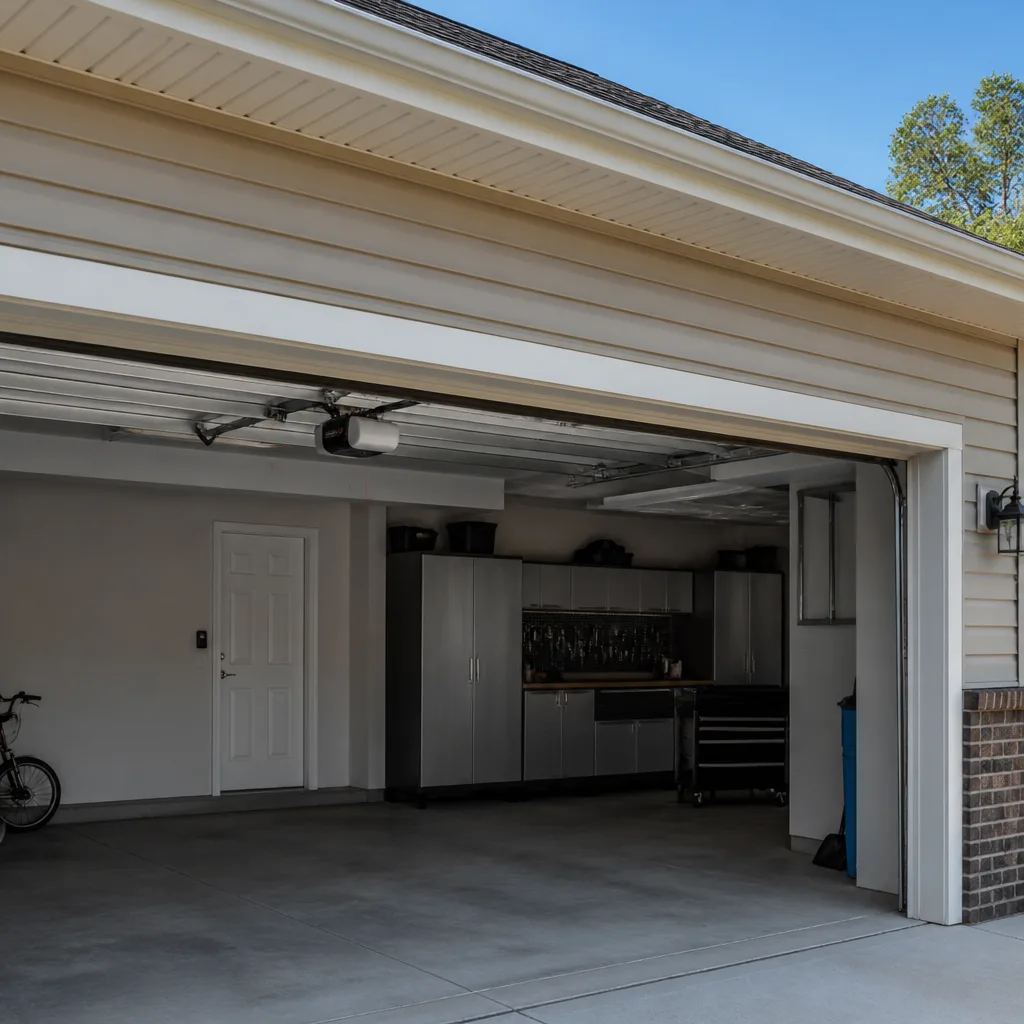 LiftMaster openers
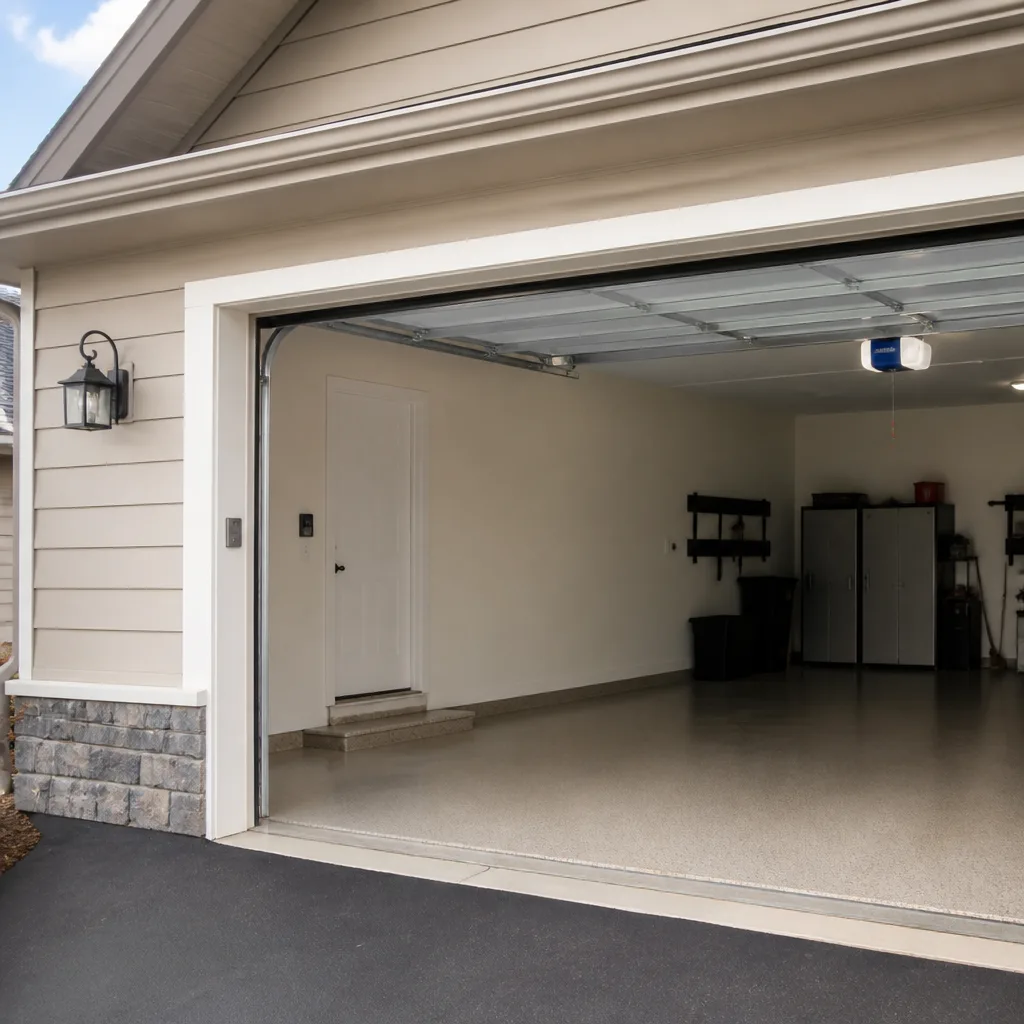 Chamberlain openers
Full 25-point door and opener safety check with every visit - springs, cables, rollers, tracks, and your LiftMaster or Chamberlain opener included
You get a price before we start. It does not change when the pro arrives.
Get your free estimateGarage Door Repair Maintenance Schedule: What to Do and When
Most garage door advice starts with a calendar. Inspect in spring, lubricate in fall, and somehow everything stays fine. That schedule ignores the one number that actually predicts when a door fails: cycles. Your door counts every open and every close, and the springs, rollers, and opener motor wear out by usage, not by month. A household that leaves and returns four times a day racks up roughly 2,900 cycles a year. A two-driver household can double that. The same spring that lasts years in one East Boston home can be near the end of its rated life in another. This guide maps each maintenance task to the interval that matches real wear, with the seasonal details that matter for East Boston weather and housing.
Quick Answer
Run a monthly balance and safety check, lubricate moving parts every three to six months, tighten hardware twice a year, and have a technician inspect springs, cables, and the opener once a year. Replace springs based on cycle count rather than the calendar, and service weatherstripping before each East Boston winter. Anything involving springs, cables, or the torsion assembly is a professional job.
Styles & brands we work with
- Raised-panel steel
- Carriage house
- Modern flush
- Full-view glass
- LiftMaster openers
- Chamberlain openers
Table of Contents
- Why Cycle Count Beats the Calendar
- The Monthly 15-Second Balance Test
- Lubrication: Which Product Goes Where
- The Hardware Torque Check Most Homeowners Skip
- Springs and Cables: Inspect, Never Adjust
- East Boston Seasonal Tasks: Winter Prep and Freeze-Thaw
- Opener Care and Smart-System Checks
- The Full Schedule at a Glance
Why Cycle Count Beats the Calendar
A torsion spring is rated in cycles, commonly around 10,000 for a standard spring. That rating means one full open-and-close is one cycle, and when the count runs out, the spring breaks. Manufacturers don’t publish a “replace by” date because they can’t. Only you know how often your door moves.
Here’s how to calculate your annual cycle count in about two minutes:
- Count how many times your household opens and closes the garage door on a typical weekday. Include every departure and return, plus any mid-day trips.
- Multiply that by five for the weekday total.
- Add your usual number of weekend openings and closings.
- Multiply the weekly total by 52. That’s your annual cycle count.
A single driver who commutes and runs one errand a day might total 2,000 to 2,500 cycles a year. A household with two working adults and kids coming and going can pass 5,000. At 5,000 cycles a year, a 10,000-cycle spring reaches its rated life in about two years. At 2,000 cycles, the same spring stretches toward five.
This matters because a spring that’s near its limit gives warning signs before it snaps. If you know your yearly cycle count, you know roughly when to start watching. That’s the difference between planning a spring replacement and paying for an emergency call after the door won’t lift. We work on torsion and extension systems across brands like Clopay, Amarr, and Wayne Dalton, and the cycle math is the same regardless of the nameplate.
The Monthly 15-Second Balance Test
An unbalanced door is the quiet cause of most opener failures. When springs lose tension, the opener motor carries weight it was never designed to lift. That extra load wears the motor, the gears, and the drive system, and the damage shows up months later as an opener that strains, stutters, or stops halfway.
The balance test catches this early. Here’s the procedure:
- Close the door and disconnect the opener by pulling the manual release handle. The door should stay put.
- Lift the door by hand to about waist height and let go.
- Watch what happens. A balanced door holds its position or drifts slightly. A door that sinks to the floor has springs that are losing tension. A door that rises on its own is over-tensioned.
- Reconnect the opener only after the door is fully closed and the trolley is aligned.
Do this once a month and it takes fifteen seconds. The payoff is that you’ll notice a weakening spring before it fails completely. In our experience, a door that fails the balance test is often within weeks of a spring problem. That’s the moment to schedule an inspection, not after the door jams shut with the car inside.
A door that won’t stay level side to side has a separate issue, usually a cable or track problem. Don’t try to fix that yourself. Call for a professional look, especially if you’ve noticed the door hanging crooked in its opening.
Lubrication: Which Product Goes Where
Lubricant choice is where well-meaning homeowners do the most damage. WD-40 is the most common mistake. It’s a solvent and water displacer, not a lasting lubricant. Spray it on rollers and hinges and it strips the existing grease, attracts dust, and leaves the parts drier than before. A few weeks later the door runs louder and rougher than it did before you “fixed” it.
Use white lithium grease or a dedicated garage door lubricant instead. Here’s the breakdown of what goes where:
- Rollers: A light coat of white lithium grease on the roller stems, not on the roller wheels themselves. Sealed bearing rollers need nothing; they’re designed to run dry.
- Hinges: A drop of garage door lubricant at each hinge pivot. Wipe off excess so grit doesn’t collect.
- Track: Don’t grease the track. Grease on the track surface collects dust and grit and turns into a grinding paste. Wipe the track clean with a dry cloth and leave it dry.
- Torsion spring: A light spray of lubricant along the coils reduces friction noise. This is a cleaning-and-noise task only; it does nothing for tension.
- Opener rail and chain: A low-tack lubricant on the chain, following the opener manufacturer’s guidance. Belt-drive openers usually need no lubrication at all.
Do this every three to six months, depending on use. A door that cycles thousands of times a year benefits from the shorter end of that range. A weekend-only door can go longer.
The Hardware Torque Check Most Homeowners Skip
Every bolt on your door vibrates a little each time the door moves. Over a year, those small vibrations loosen hinge bolts, roller brackets, and the bolts holding the track to the frame. This is the check nearly everyone skips, and it’s the direct cause of many track misalignments by spring.
Once every six months, walk the door with a wrench and check these:
- Hinge bolts: Snug every hinge plate to the door panel. Loose hinges let the door flex and put stress on the panels.
- Roller brackets: These hold the rollers in the track. A loose bracket lets the roller wander and start grinding.
- Track mounting bolts: Check the brackets that hold the track to the frame. A track that shifts even a fraction of an inch causes binding and noise.
- Opener mounting: The bolts holding the opener to the ceiling and the bracket at the door should be firm but not over-tightened.
Tighten each to snug, not gorilla-tight. Bolts that feel loose every time you check them may point to a deeper alignment problem, and that’s worth a professional look. We’ve seen East Boston doors where a single loose track bracket led to a door that scraped the track for months before the owner noticed, wearing the rollers down in the process.
Springs and Cables: Inspect, Never Adjust
The torsion spring and the cables under tension are the most dangerous parts of your door. A spring can store enough energy to lift hundreds of pounds. When it breaks or releases suddenly, the force is enough to cause serious injury, and the tensioned cable can snap with the same result.
This section is about inspection, not repair. Here’s what you can safely look at:
- Spring gaps: Look at the coil. A visible gap or a stretched section can mean a weakening spring. Don’t run your hands along it.
- Broken coils: A snapped spring often shows as a clean break in the coil. If you see this, stop using the door and call a technician.
- Cable condition: Look for fraying, kinks, or slack cables hanging loose. A slack cable is a serious warning sign.
- Door tilt: A door that closes unevenly, with one side lower than the other, usually has a spring or cable problem.
Do not attempt to adjust the spring tension yourself. Doing so requires winding bars and knowledge of the torsion math, and a mistaken turn can release the full stored energy. This is the highest-risk repair in the trade, and it’s why we list spring repair as a core specialty. A trained professional has the tools and the experience to do it safely and to set the correct tension for your door’s weight.
East Boston Seasonal Tasks: Winter Prep and Freeze-Thaw
East Boston’s winters put specific stress on a garage door. The freeze-thaw cycle is the main culprit. Water gets into the weatherstripping and the bottom seal during a thaw, then freezes and expands when the temperature drops. That cycle cracks the rubber, stiffens the seal, and can leave gaps that let cold air and moisture into the garage.
Before winter, check these items:
- Bottom seal: Run your hand along the rubber at the bottom of the door. A seal that’s stiff, cracked, or torn won’t keep out cold air or water. Replace it before the freezing starts, not after it fails.
- Side and top weatherstripping: Look for a gap between the door and the frame. A loose or warped strip lets in drafts and moisture.
- Door hardware: Cold metal contracts and can make loose bolts looser. Do the torque check before the first hard freeze.
- Track and rollers: Cold makes lubricant tackier and rollers stiffer. A door that’s already sluggish gets worse in cold weather.
After a snowstorm, clear snow and ice from the base of the door and the threshold. Ice buildup under the door lift can block travel or damage the bottom seal when the door comes down. Don’t force the door through ice, and don’t run the opener against a blocked door; it strains the motor and can burn out the drive. If the door is frozen to the ground, free it by hand before using the opener.
Our own East Boston assignments see this freeze-thaw wear every winter, and the doors that hold up are the ones whose seals were checked in the fall. If you’re not sure what shape your weatherstripping is in, a technician can check it during a routine visit.
Opener Care and Smart-System Checks
Your opener is the part of the system most likely to develop electronic faults, and the part most likely to be forgotten during maintenance. A door that runs smoothly on its springs needs an opener that isn’t fighting it. That’s why the balance test matters so much: a well-balanced door reduces the load on the opener every single cycle.
Here’s what to check on the opener itself:
- Safety reverse test: Place a solid object (a piece of wood works) flat on the floor under the door. Close the door and watch what happens when it meets the object. The door should reverse direction. If it doesn’t, the safety setting needs adjustment; this is a real safety issue and should be checked now, not later.
- Photo-eye alignment: The safety sensors should be about six inches off the ground, aligned to face each other, and both indicator lights solid. If one blinks, the beam is broken or misaligned.
- Quiet or noisy operation: A new grinding or rattling sound from the motor or rail means something has changed. Belt-drive openers should run quietly; if a belt suddenly gets loud, the belt or pulley is the likely cause.
- Smart features: If your opener connects to an app, check that the remote control and the app both still respond. A door that opens from the wall button but not the app often points to a network or pairing issue, not a motor problem.
- Force settings: Modern openers let you adjust how much force they apply. If you’ve had to raise the force to make the door close, that’s a sign the door itself has a problem, usually the springs. Fix the door, don’t crank the force.
Our opener diagnostics cover both legacy and smart-home-compatible systems from LiftMaster, Chamberlain, Genie, and Craftsman. If your opener is behaving oddly, a garage door opener repair visit can usually tell you whether the fix is in the opener, the door, or both.
The Full Schedule at a Glance
Here is the complete maintenance schedule, mapped to interval and difficulty. The difficulty column tells you which tasks are homeowner-friendly and which ones need a professional.
| Task | Interval | Difficulty |
|---|---|---|
| Balance test (disconnect and lift) | Monthly | DIY |
| Safety reverse test | Monthly | DIY |
| Photo-eye alignment and clarity check | Monthly | DIY |
| Visual spring and cable inspection (look only) | Monthly | DIY |
| Lubricate hinges, rollers, chain | Every 3-6 months | DIY |
| Hardware torque check | Every 6 months | DIY |
| Weatherstripping and bottom seal check | Before winter and after | DIY |
| Spring cycle-count review | Yearly | DIY (calculation) |
| Professional inspection of springs, cables, opener | Yearly | Professional |
| Spring replacement | At rated cycles | Professional |
If you’re hoping to avoid the professional inspection entirely, we get it. The DIY tasks cover a lot of ground. But the spring and cable inspection needs a trained eye and a trained set of hands, and the yearly checkup is the easiest way to catch a problem while it’s still small. Our technicians have up to 15 years of experience reading the wear patterns that a visual check from the ground can miss.
Common Mistakes to Avoid
- Using WD-40 on the rollers and hinges. It strips grease and leaves parts dry. Use white lithium grease or a dedicated garage door lubricant instead, and skip the roller wheels themselves.
- Greasing the track. This is the most common mistake we see. Grease on the track collects grit and turns into a grinding compound that wears the rollers. The track should be clean and dry.
- Ignoring the balance test because the door still opens. An unbalanced door will still open, but it’s wearing out the opener motor every time. The test takes fifteen seconds and catches problems early.
- Tightening every bolt as hard as it goes. Over-tightening strips threads and warps brackets. Snug is the goal, and a bolt that feels loose every time is a sign to look deeper.
- Letting the opener push through the winter freeze. Running the opener against a frozen or blocked door burns out the motor and can damage the drive. Clear ice by hand first.
- Replacing a spring without checking the balance afterward. A new spring needs to be set to the right tension for the door’s weight, or the imbalance comes right back. This is why spring work belongs with a professional.
- Waiting until the seal fails to think about winter. East Boston freeze-thaw cycles crack a stiff seal faster than any other season. Check it in the fall, and you’ll have a dry garage all winter.
See the difference
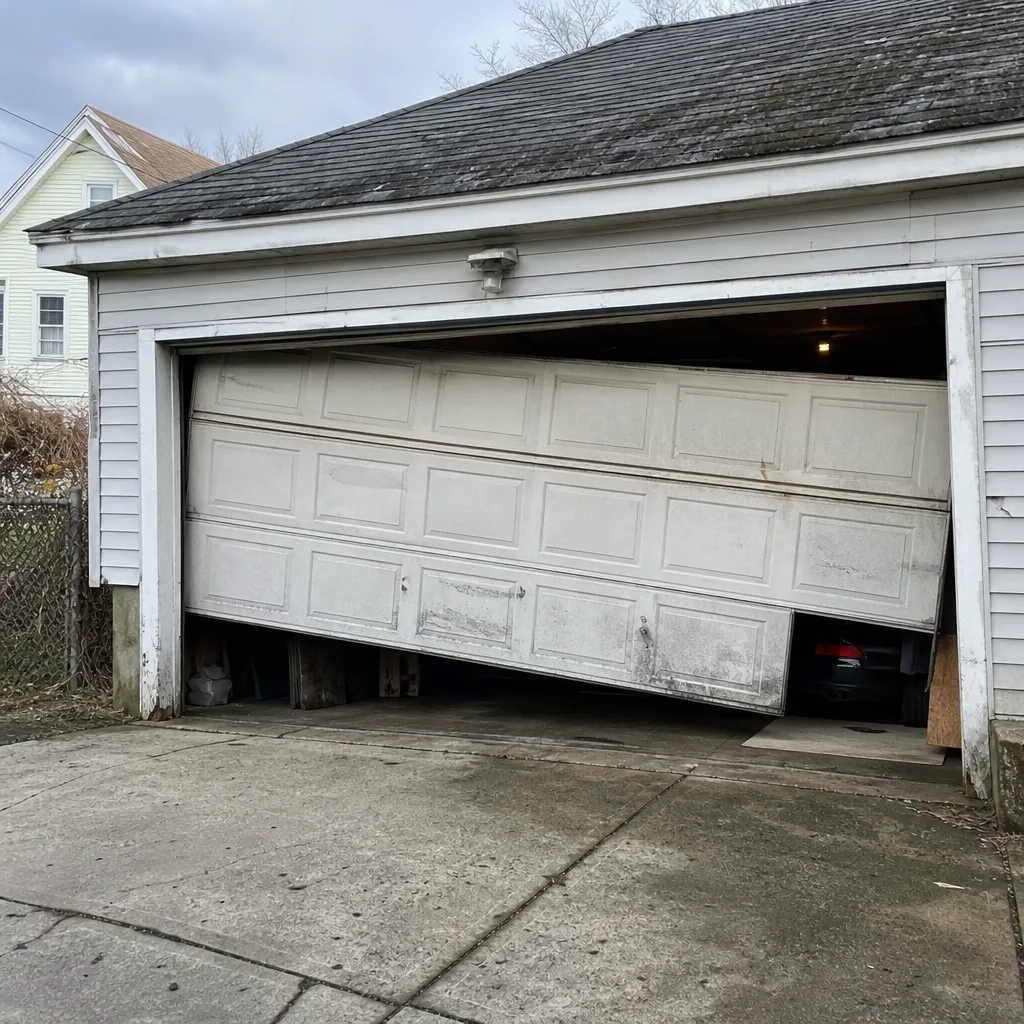 Before
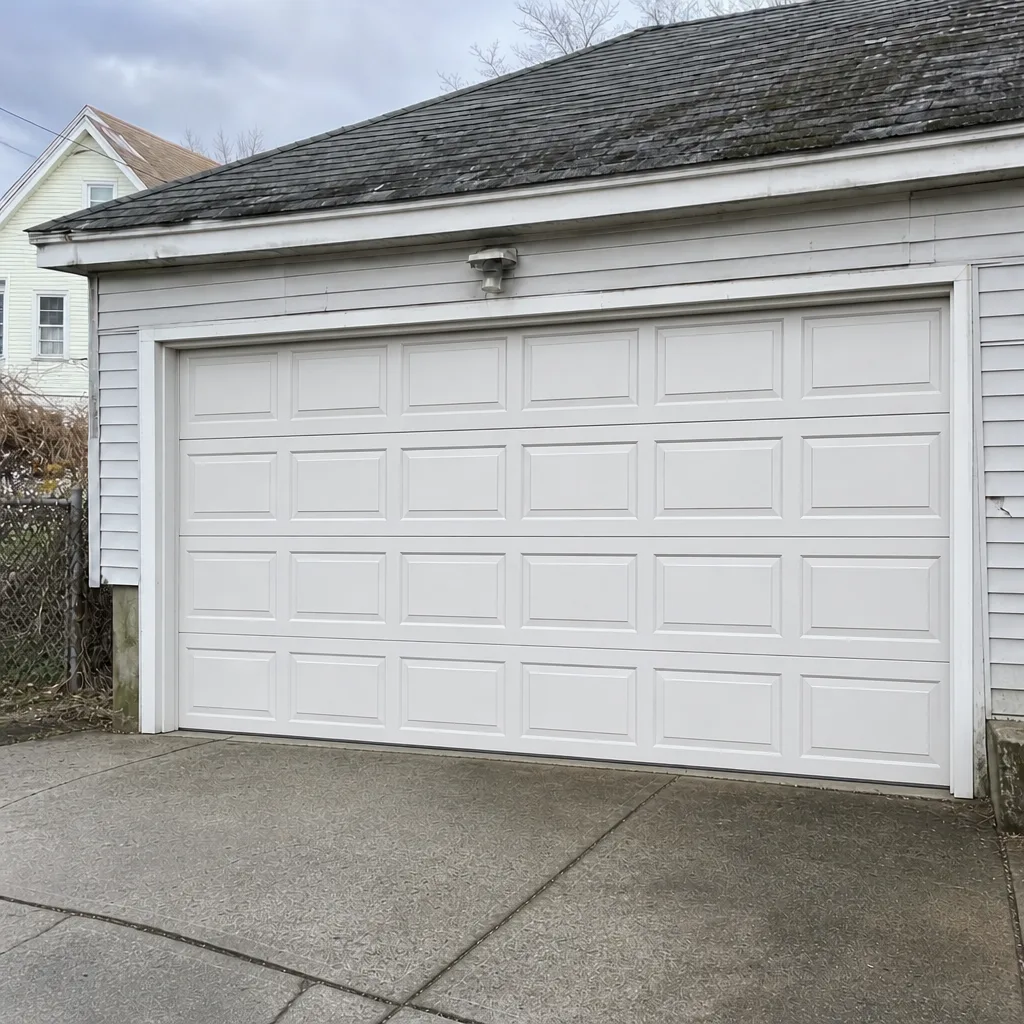 After
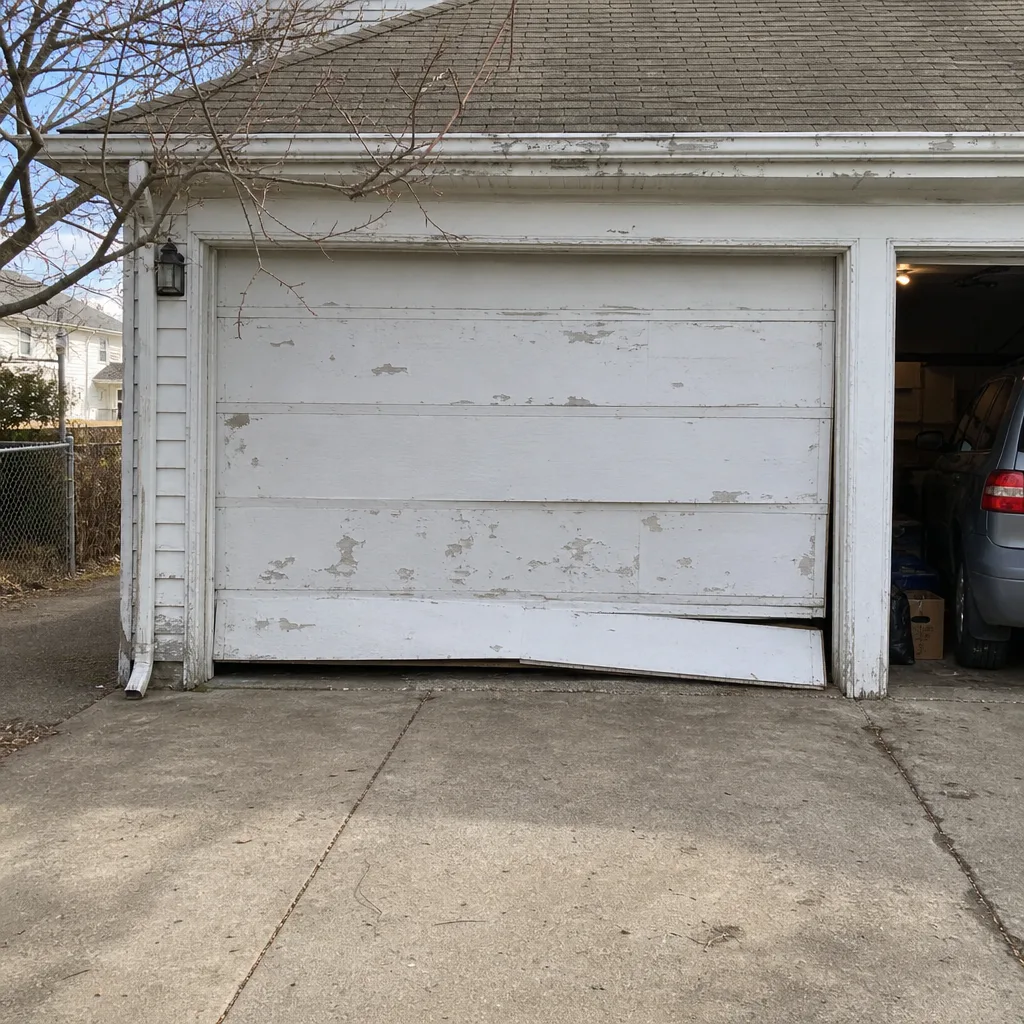 Before
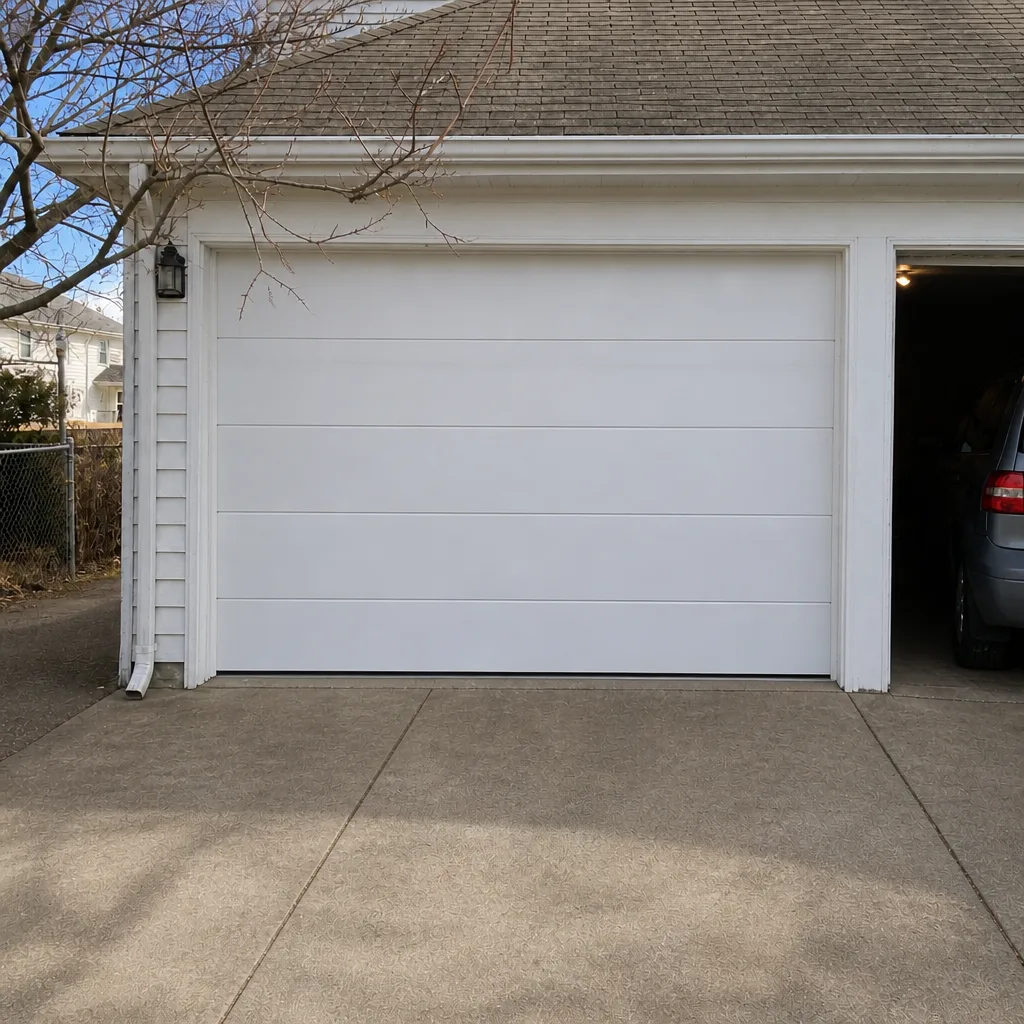 After
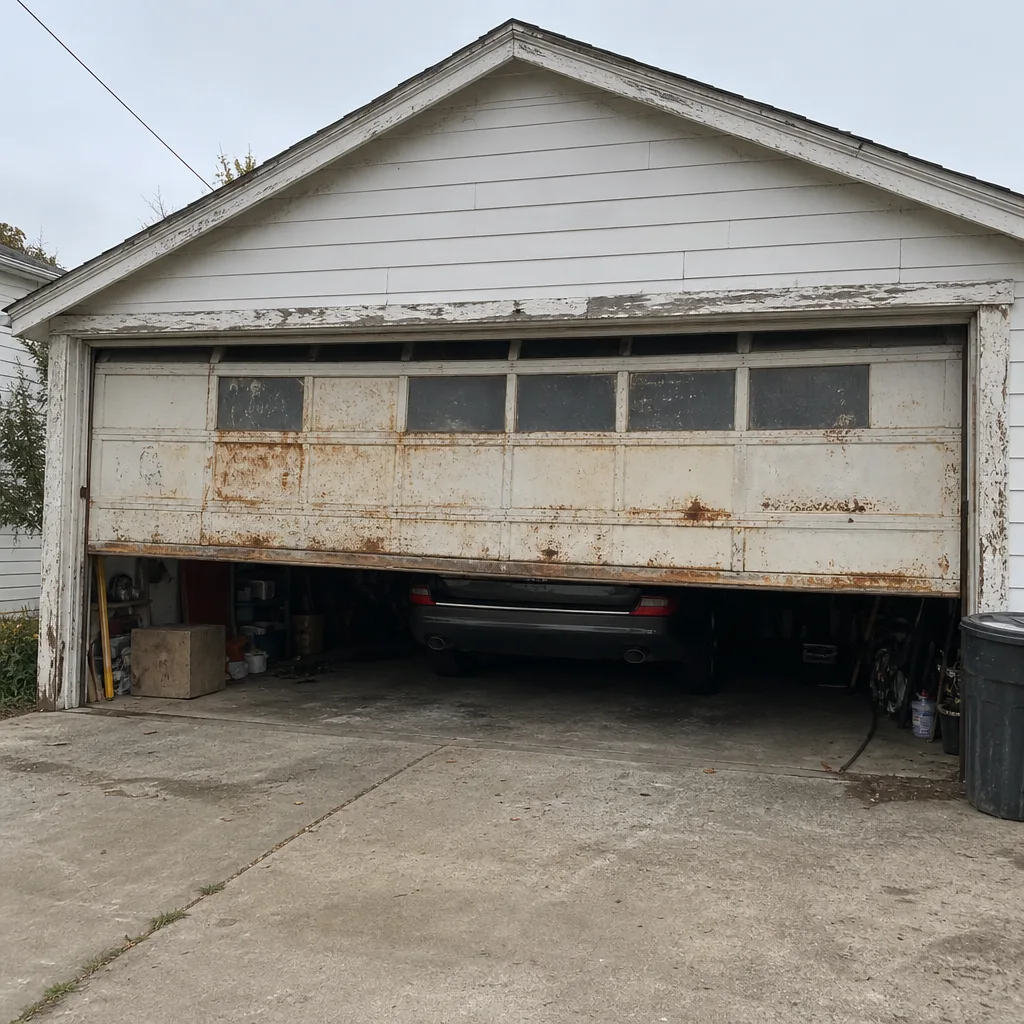 Before
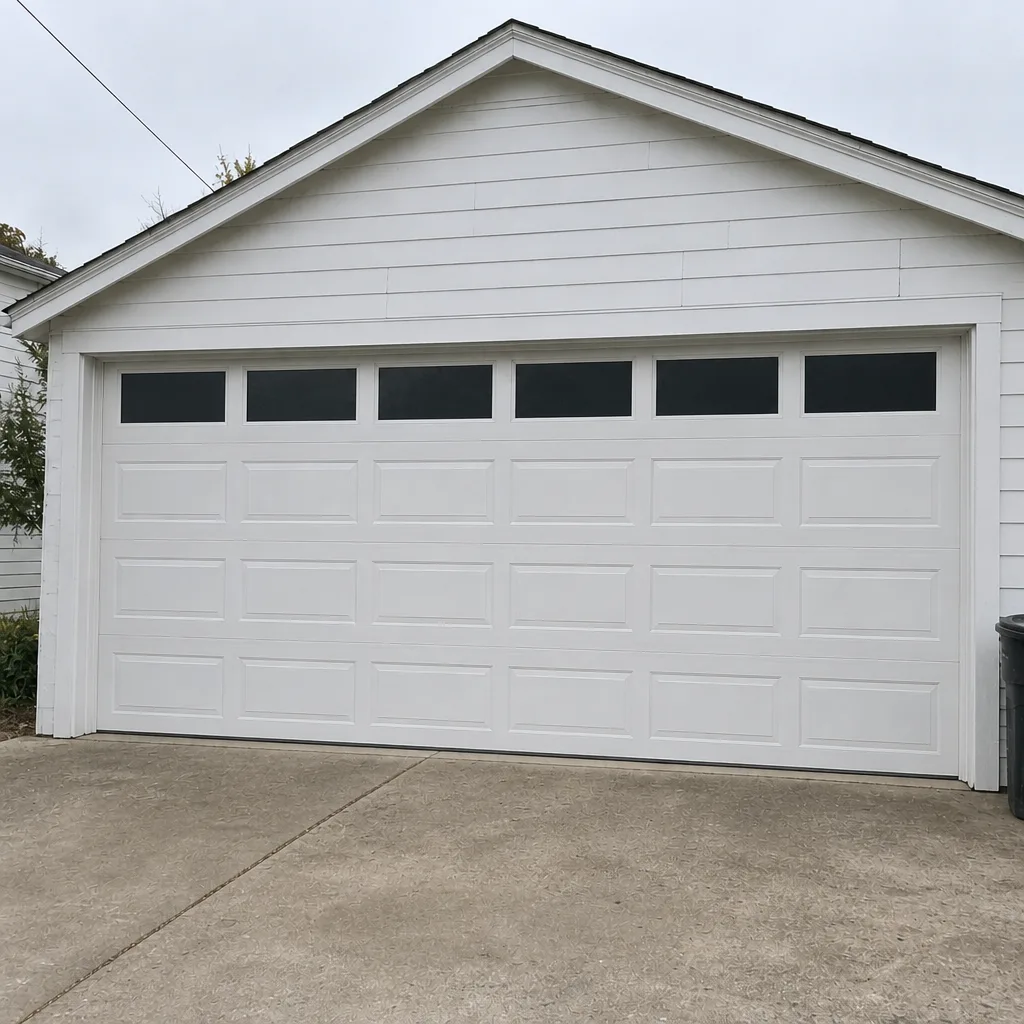 After
When to Call a Professional
Some tasks are homeowner work, and some are not. Call a professional when a spring is broken or visibly stretched, when a cable is slack or frayed, when the door hangs crooked or tilts, when the safety reverse test fails and won’t adjust, when the opener grinds or stalls, or when the door won’t open at all. Those are cases where a mistake can cause injury or turn a small repair into a larger one.
East Boston Garage Door Repair offers free estimates in East Boston, and a trained technician can tell you what’s actually needed. Our technicians have up to 15 years of experience, and we work on the systems you already have, from Genie and LiftMaster to Clopay and Amarr. Call (877) 367-9149 for a free estimate, and we’ll tell you what’s worth doing now and what can wait.
Frequently Asked Questions
Most doors benefit from a professional service visit once a year, with homeowner checks every month and lubrication every three to six months. If your door cycles more than 3,000 times a year, plan on the yearly inspection as a firm commitment rather than a suggestion. A heavy-use door ages faster than the calendar suggests, so the cycle count is the better guide.
The most reliable signal is your cycle count against the spring’s rated life. Beyond that, watch for a door that won’t stay balanced when you disconnect the opener, a gap in the coil, a snapped coil, or a door that tilts to one side. Any of these means you should stop using the door and call a technician. Spring work belongs with a professional because of the stored tension. Call (877) 367-9149 for an exact quote; estimates are free.
Yes. Lubrication is a safe homeowner task as long as you use the right product. Use white lithium grease or a dedicated garage door lubricant on hinges and roller stems, keep the track clean and dry, and leave the spring and cable adjustment to a professional. The one rule to remember is never use WD-40 as a lasting lubricant.
Cold makes lubricant tackier and rollers stiffer, and freeze-thaw cycles can crack the bottom seal and let ice build up under the door. Combined with a door that’s already near the end of its spring life, cold weather is when a strained system finally fails. Check the seal and do the torque check before the first hard freeze.
Most simple repairs and maintenance don’t require a permit, but replacing a whole door or changing the structure can. Permit rules vary, so the safest move is to ask the city’s building department directly before scheduling anything beyond routine repair. If your job involves a new door, a garage door installation visit can explain what’s typically covered.
That depends on your policy and the cause. Wear and tear from normal use is typically not covered, while damage from certain events may be. Read your policy or call your agent before assuming either way. We can work with your insurer on the repair itself, but the coverage decision is theirs.
If you need a hand with the parts and prefer to do the work yourself, we supply components directly, so you can source the right roller, hinge, or seal without guessing. For full garage door repair on the system you already have, our team is ready to help.
The Bottom Line
A maintenance schedule that truly works is built on your door’s real usage, not a generic calendar. Count your cycles, run the monthly balance test, lubricate with the right product, tighten the hardware twice a year, and let a professional inspect the springs and opener once a year. For East Boston homes, add the freeze-thaw checks before winter and after. A little attention every month keeps the door moving smoothly and catches the expensive failures while they’re still small. If the door isn’t opening properly or your latest opener repair didn’t fix the problem, call (877) 367-9149 for a free estimate.
Written by the team at East Boston Garage Door Repair.