Last updated November 21, 2026
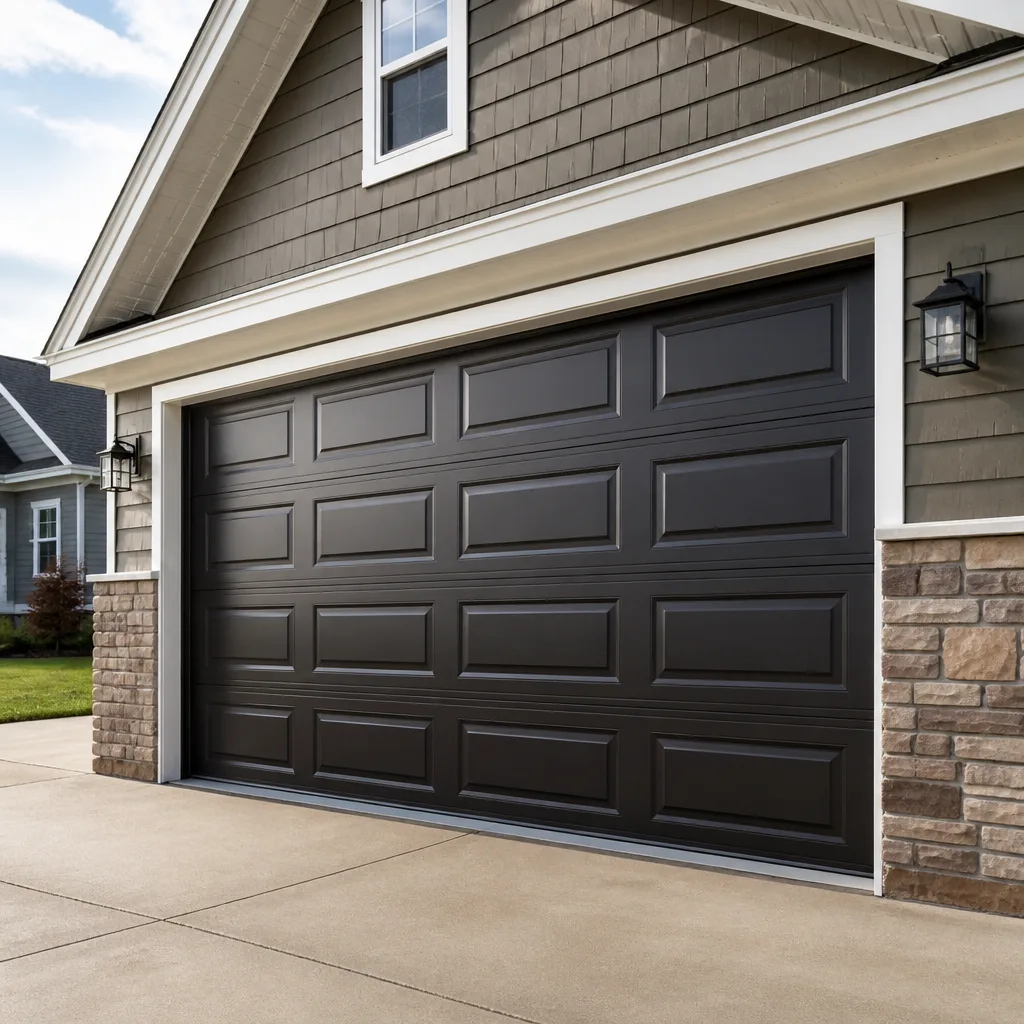 Raised-panel steel
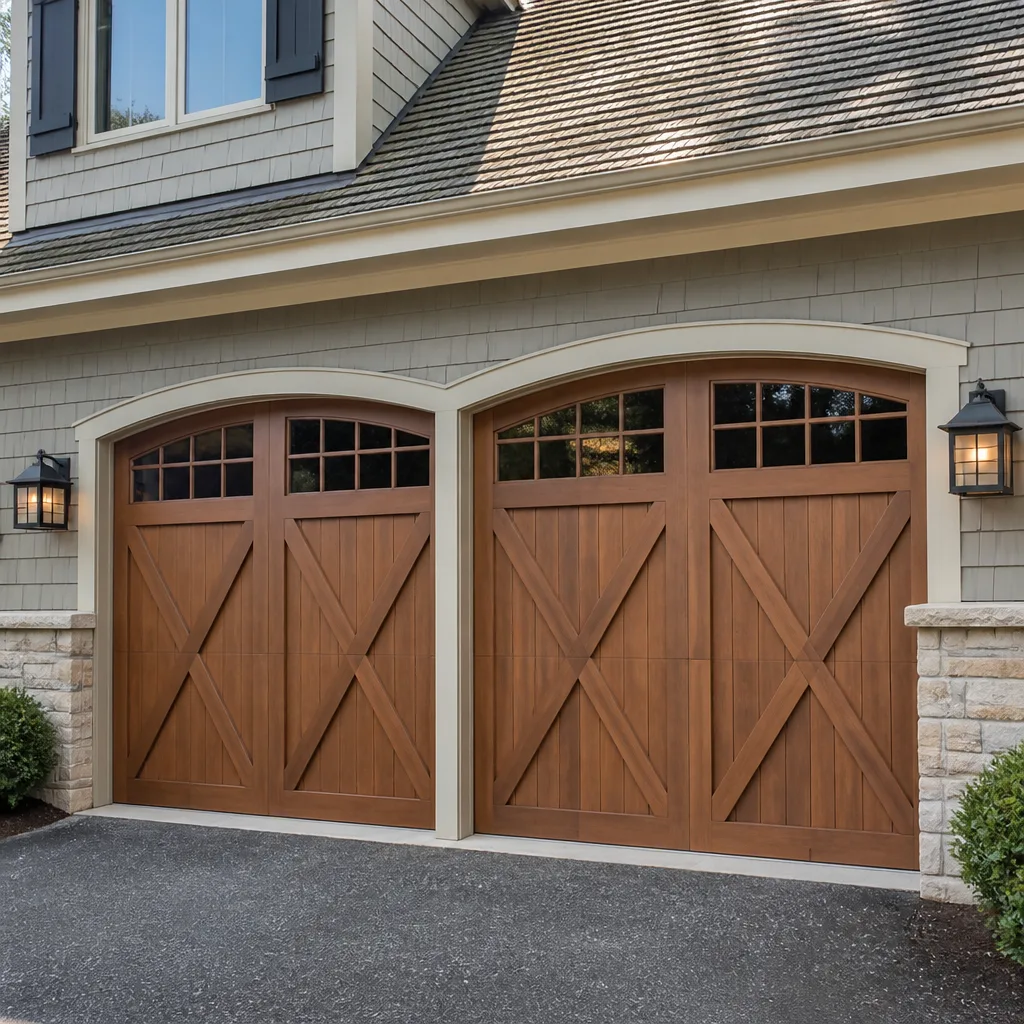 Carriage house
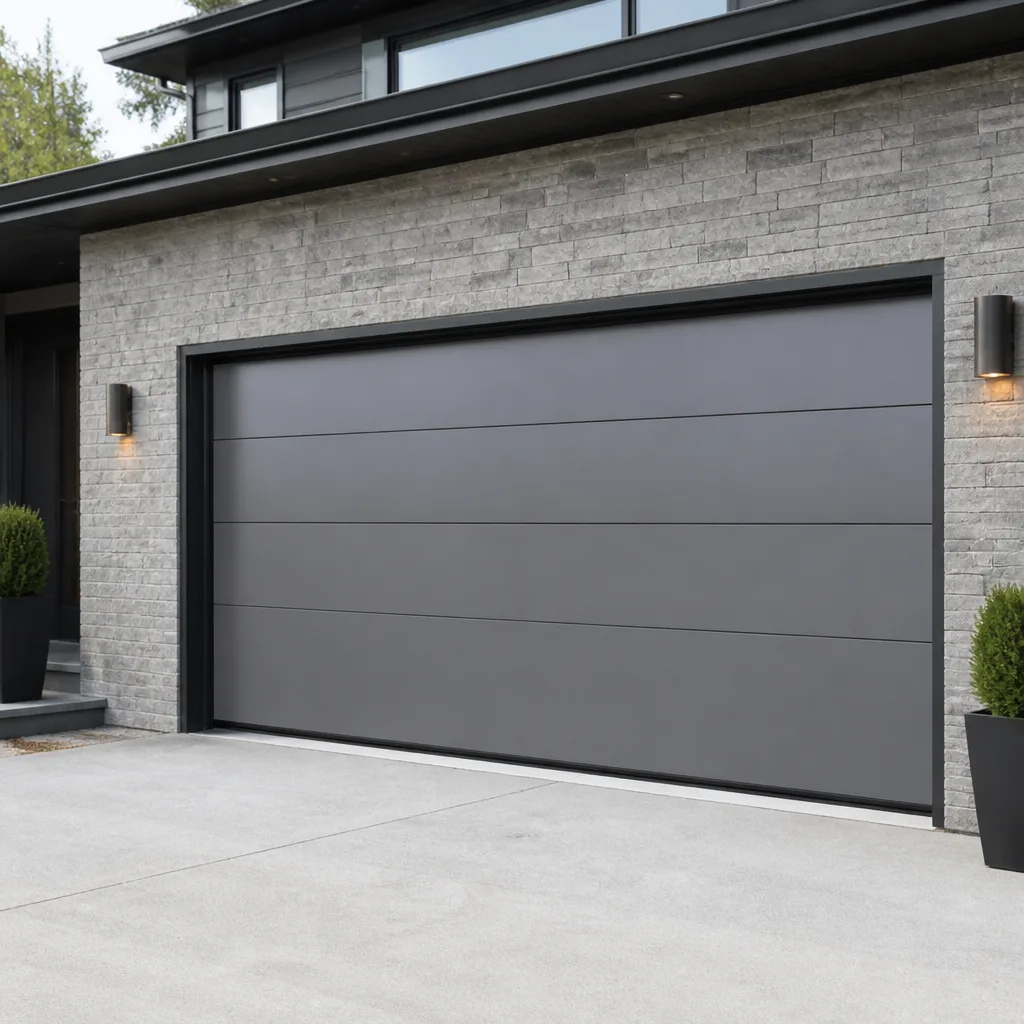 Modern flush
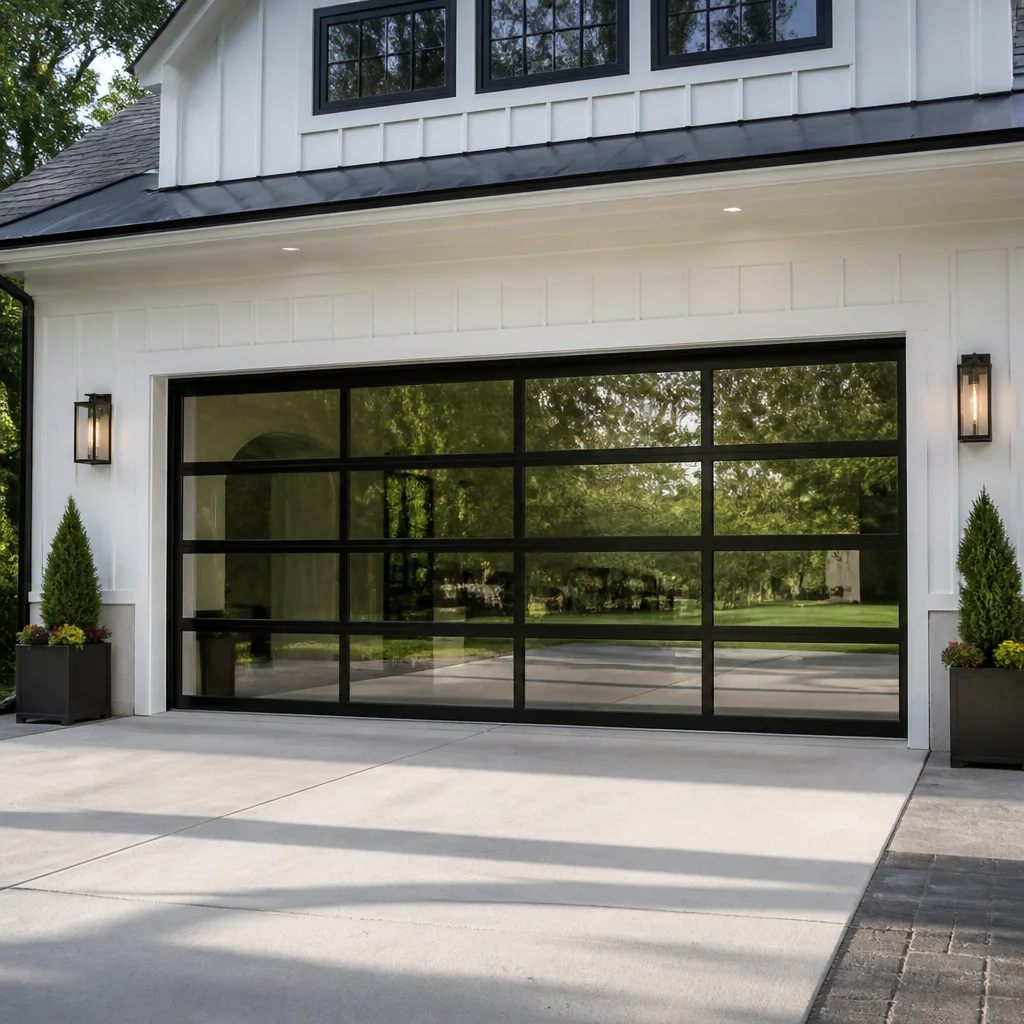 Full-view glass
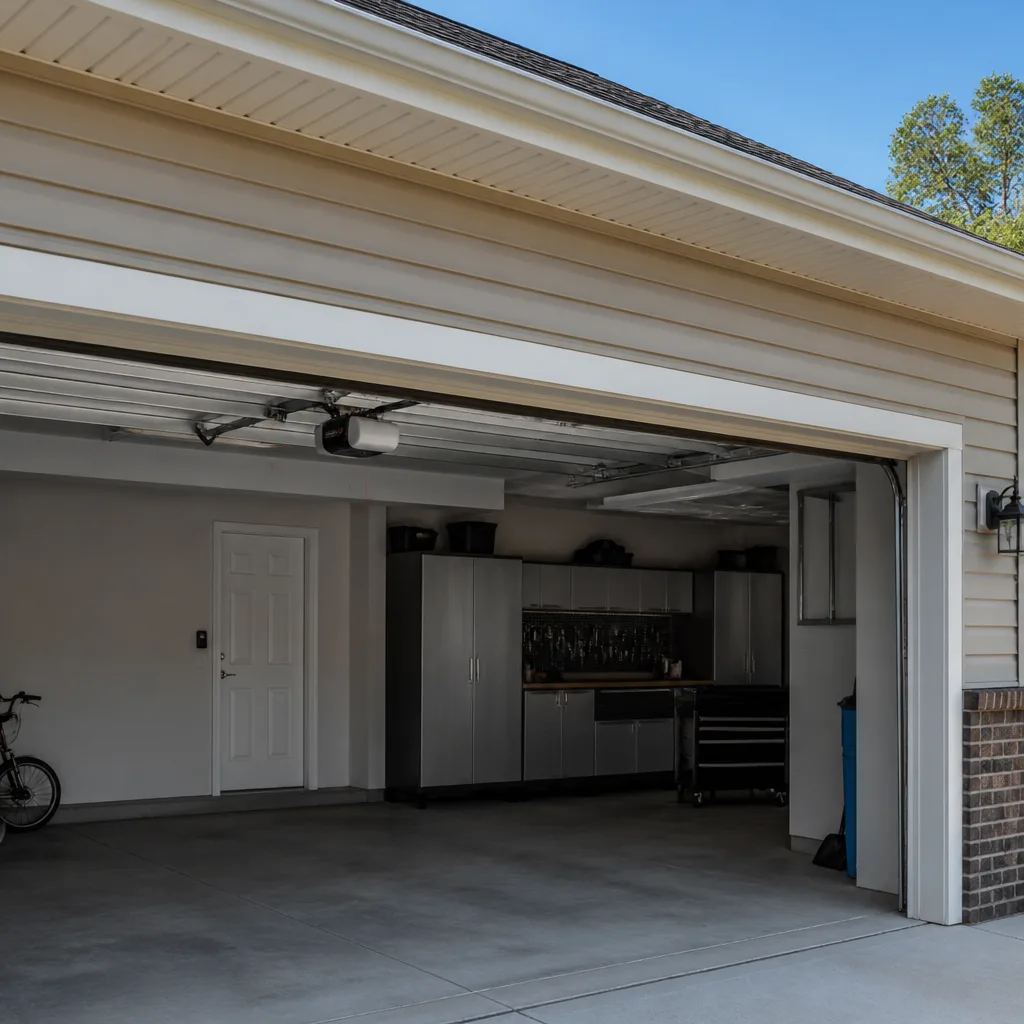 LiftMaster openers
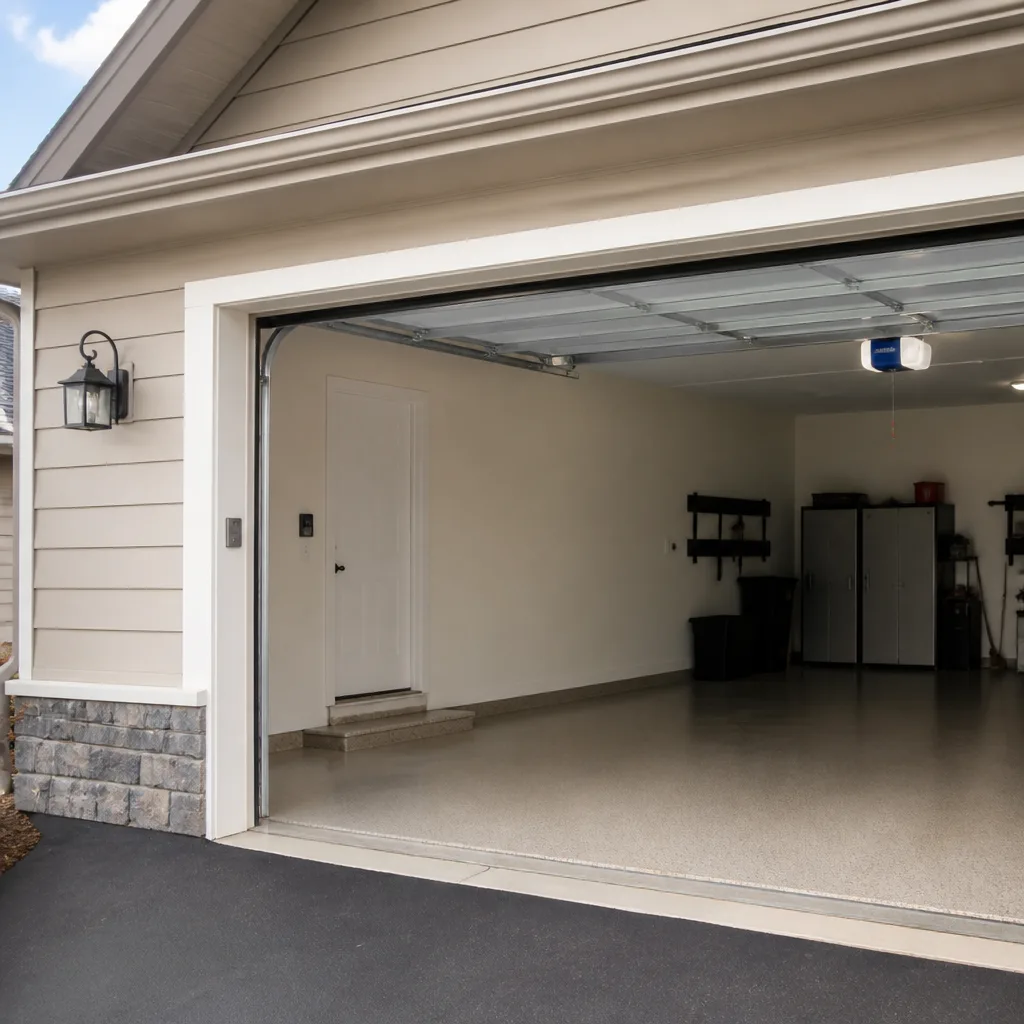 Chamberlain openers
Full 25-point door and opener safety check with every visit - springs, cables, rollers, tracks, and your LiftMaster or Chamberlain opener included
You get a price before we start. It does not change when the pro arrives.
Get your free estimateGarage Door Repair Troubleshooting in East Boston: Common Problems and How to Fix Them
A garage door that “just stopped working” is almost never a single failure. It’s usually one worn component that stressed two others into breaking. Start at the wrong end and you’ll spend twice: replacing a sensor that was fine, or a motor that only needed a gear, while the real culprit – a tired spring or a frayed cable – keeps loading the system. We see this constantly in East Boston, where older garages and dense triple-decker lots put a lot of doors through a lot of cycles. This guide teaches you to diagnose the system, not just describe the symptom: how a torsion spring failure differs from a snapped cable, the exact sequence to check an opener when the remote and wall button disagree, and which fixes are genuinely safe to do yourself versus which ones need a technician. You’ll learn what to look at, in what order, and when to stop.
Quick Answer
Most East Boston garage door problems come down to three root causes: hardware wear (rollers, hinges, bottom brackets), sensor misalignment, and spring fatigue. You can safely reset sensors, check the manual release, and test a remote or wall button. Torsion springs, cables, and cable drums are under extreme tension and should only be handled by a trained technician. Diagnosing the root cause first – rather than replacing parts on a guess – is what keeps a repair simple.
Styles & brands we work with
- Raised-panel steel
- Carriage house
- Modern flush
- Full-view glass
- LiftMaster openers
- Chamberlain openers
Table of Contents
- The Three Root Causes Behind Almost Every Garage Door Problem in East Boston
- How to Tell a Broken Torsion Spring from a Snapped Cable
- The Opener Checklist: When the Wall Button Works but the Remote Doesn’t
- The Floor-to-Sensor-to-Trolley Path That Catches Most “Door Won’t Close” Problems
- Why East Boston Doors Wear Differently: Brackets, Rollers, and What to Look For
- What’s Safe to Fix Yourself and What Isn’t
- Matching the Fix to the Brand on Your Door
- Repair or Replace? How to Decide Without Being Upsold
The Three Root Causes Behind Almost Every Garage Door Problem in East Boston
Before you touch anything, understand that a garage door is a balanced system. The springs carry the door’s weight; the opener only guides it. When one part wears, the load shifts onto its neighbors. That’s why a door that “suddenly” quit is rarely a single failure – it’s usually the last link in a chain that was already straining.
The three root causes we diagnose for most often:
- Hardware wear. Rollers flatten, hinges loosen, bottom brackets rust, and the door starts to grind, squeak, or track unevenly. Wear is gradual and easy to miss until something binds.
- Sensor misalignment. The two safety sensors at the floor must see each other across the opening. A bumped bracket, a cobweb, or a sun angle can break that beam and stop the door from closing.
- Spring fatigue. Torsion and extension springs weaken with every cycle. A fatigued spring makes the opener work harder, and eventually the door won’t lift or drops fast on the way down.
Here in East Boston, tight lots and short driveways mean many doors get used several times a day – kids, deliveries, a car moved for street cleaning. That cycle count adds up on hardware and springs faster than a suburban door that opens twice daily. If you can name which of these three is failing, you’ve solved most of the puzzle before you spend a dollar. When the diagnosis points to something beyond a reset, that’s the moment to line up garage door repair rather than keep testing.
How to Tell a Broken Torsion Spring from a Snapped Cable
Both failures can make a door drop or refuse to lift, but they’re different repairs with different parts and different labor. Telling them apart starts with looking and listening – never with reaching into the mechanism.
Signs of a broken torsion spring
- A loud bang from the garage, often described as sounding like a gunshot.
- A visible gap in the spring coil above the door, mounted on the shaft.
- The door feels extremely heavy when you try the manual release, or won’t stay up.
- The opener runs but the door barely moves, or the motor strains and stops.
Signs of a snapped cable
- The door hangs crooked, with one side lower than the other.
- A frayed or loose cable dangling near the bottom corner or drum.
- The door binds and won’t travel evenly on both tracks.
- A bang, but the spring coil looks intact.
The key distinction: a spring failure usually leaves the door heavy and even; a cable failure usually leaves it crooked and binding. Springs carry the load, cables keep the door level on the drums. Because a torsion spring is wound under enormous tension – enough to cause serious injury if it releases – this is not a component to inspect by hand or attempt to replace yourself. A technician uses proper winding bars and knows how to release the tension safely. If you suspect either failure in East Boston, keep the door closed, don’t force the opener, and call for help.
The Opener Checklist: When the Wall Button Works but the Remote Doesn’t
This is one of the most common calls we get, and it’s also one of the easiest to diagnose in order. When the wall button operates the door but the remote doesn’t – or the reverse – work through this sequence before assuming the opener is dead. It applies whether you have a LiftMaster, a Chamberlain, a Genie, or another make.
- Check the remote battery first. A dead or weak battery is the single most common cause. Swap it and retest.
- Test a second remote or the keypad. If another remote works, the problem is the first remote, not the opener. If none work but the wall button does, the issue is in the receiver or the pairing.
- Re-pair the remote. Remotes lose their pairing after power interruptions or a new code. Follow the pairing steps for your opener’s brand – the procedure differs between a LiftMaster and a Genie, so match it to your unit.
- Check the wall button wiring and the lock-out feature. A vacation or lock switch, or a loose wire at the wall control, can disable the remotes while leaving the button functional.
- Look at the opener’s antenna and logic board. A damaged antenna wire or a failing receiver on the logic board will stop all remotes from working. This is where a technician’s diagnostic tools save guesswork.
- Rule out interference. Nearby LED bulbs, a new smart device, or a neighbor’s opener on an overlapping channel can interfere. Test with the opener’s light off.
If the wall button is dead too, that points to power, the logic board, or the safety circuit – not the remote. When a board or receiver is failing, our garage door opener repair team can test it properly rather than sell you a whole new unit for a remote issue.
The Floor-to-Sensor-to-Trolley Path That Catches Most “Door Won’t Close” Problems
A door that opens fine but won’t close is the classic safety-circuit complaint. Work the path from the floor upward, because that’s where the answer usually is.
- Floor sensors. Look at the two sensors near the floor on each side. Each should have a solid indicator light. A blinking light means the beam is broken or misaligned. Wipe the lenses, then gently nudge each bracket until the lights go solid.
- Obstruction in the beam path. A broom handle, a recycling bin, a kid’s toy, or a swept-up leaf pile between the sensors will stop the door every time. Clear the path and retest.
- Sunlight or reflection. Low sun shining directly into one sensor can blind it. Shade it temporarily to confirm.
- Sensor wiring. A loose or pinched wire at the sensor or along the track can break the circuit. Check that the wires are secure and undamaged.
- The trolley and travel limits. If the door starts to close then reverses, or stops short, the travel limit or force setting may be off, or the trolley is binding on the rail.
- The manual release. If the door was released and the trolley is disengaged, the opener can’t pull it. Re-engage the trolley by following the release cord and sliding the carriage back onto the drive.
In our experience, the first three steps clear the majority of “won’t close” calls before anyone needs to visit. If you’ve worked the whole path and the door still won’t close, the issue is likely in the logic board or the safety circuit, and that’s a job for a technician.
Why East Boston Doors Wear Differently: Brackets, Rollers, and What to Look For
East Boston’s housing stock is old and close together, and its winters are wet and its summers humid. That combination is hard on garage door hardware in ways that don’t show up the same way inland. The parts most affected are the ones near the floor and the ones that move on every cycle: bottom brackets, steel rollers, hinges, and the bottom section of the door itself.
Moisture from rain, slush, and standing water in a short driveway creeps into the bottom brackets and rollers. Over time you’ll see rust blooming at the bracket bolts, rollers that squeal or seize instead of rolling, and hinges that stiffen. A seized roller drags on the track and puts side-load on the opener; a rusted bottom bracket is a safety concern because it anchors the cable. This is wear you can spot by eye:
- Brown or orange staining at bolt heads and bracket edges.
- Rollers that don’t spin freely when you nudge them (with the door down and opener off).
- Grinding or squealing as the door travels.
- Paint bubbling or flaking along the bottom panel.
An annual look at the bottom corners catches most of it. A little lubrication on hinges and rollers, and replacing a seized roller before it damages the track, prevents the cascade that ends in a bigger repair. The bottom panel takes the worst of it in East Boston’s wet seasons, so watch that section closely. When hardware is failing and you’d rather not chase it part by part, that’s a reasonable time to schedule a East Boston Garage Door Repair visit rather than improvise.
What’s Safe to Fix Yourself and What Isn’t
Plenty of garage door troubleshooting is genuinely safe for a homeowner, and we’d rather you handle the simple stuff than pay for a service call. The line is drawn at anything under tension or under load.
Safe to do yourself
- Replacing remote batteries and re-pairing remotes.
- Cleaning and realigning floor sensors.
- Clearing obstructions from the sensor beam.
- Re-engaging the manual release and trolley.
- Lubricating hinges, rollers, and tracks.
- Adjusting travel limits and force settings per the opener manual.
- Tightening loose track bolts (never bending a track back by force).
Call a technician
- Torsion and extension spring replacement.
- Cable replacement and cable drum work.
- Bottom bracket replacement.
- Track realignment or replacement.
- Logic board or opener motor repair.
The mechanical reason is simple. A torsion spring stores enough energy to lift the full weight of the door, and cables run under that same tension. If a spring lets go or a cable snaps while your hand is near the drum, the result can be serious injury. There’s no safe way to “test” that tension by feel. A trained professional knows how to wind and release it with the right tools. Our technicians have up to 15 years of experience with these components, and it’s the part of the trade that demands the most care. Call (877) 367-9149 if you’re not sure which side of the line a repair falls on.
Matching the Fix to the Brand on Your Door
Much of garage door troubleshooting is universal, but the details aren’t. The pairing procedure on a LiftMaster remote is different from a Genie. The travel-limit adjustment on a Chamberlain isn’t identical to a Raynor opener. The force settings, the logic board layout, and the way a unit reports an error all vary by manufacturer. Knowing the brand on your unit shortens the diagnosis and avoids buying the wrong part.
We work on systems from LiftMaster, Chamberlain, Genie, Clopay, Amarr, Wayne Dalton, Craftsman, and Raynor – whatever nameplate is on your garage. That matters most when an opener is older or a door uses a specific hardware style, because the fix depends on parts that match. A wrong roller or a mismatched bracket can wear a track prematurely.
For hands-on homeowners, parts are available directly from us as a standalone service, so you can source a component without booking a full labor call. That’s useful when you’ve already diagnosed the problem – say, a single seized roller – and just need the right replacement. When the diagnosis points to springs or cables, though, the part isn’t the hard part; the safe installation is. Tell us the make and model and we’ll point you to the correct part or handle the job.
Repair or Replace? How to Decide Without Being Upsold
Not every problem means a new door, and not every aging door is worth another repair. The honest answer depends on three things: what’s actually failing, how much of the system is worn, and the condition of the door and tracks.
Lean toward repair when the failure is isolated – one spring, one cable, one opener board, a set of rollers. If the panels, tracks, and frame are sound, a repair restores the system and you move on.
Lean toward replacement when the door itself is failing – dented or rusted-through panels, bent or rusted tracks that no longer guide the door straight, or a unit so old that parts are hard to match. Multiple failures at once are a signal too: if the springs, cables, and opener are all near end of life, piecemeal repairs add up. Our approach is to tell you which one actually makes sense, and if replacement is the answer, garage door installation covers measuring, ordering, and a proper setup. A free estimate gives you the full picture before you commit to either path.
Common Mistakes to Avoid
- Replacing the opener before checking the spring. If the door is heavy, the opener may be fine and fighting a dead spring. Test the balance with the opener off before blaming the motor.
- Forcing a crooked door. Running an opener against a snapped cable bends tracks and can warp panels. Stop and diagnose.
- Greasing the tracks. Lubricant on the track collects grit and makes rollers slide instead of roll. Lubricate hinges and rollers, keep tracks clean and dry.
- Bending a track back by hand. A forced track never guides straight. A misaligned track needs a proper reset or replacement.
- Ignoring rust at the bottom brackets. In East Boston’s wet seasons, a rusted bracket is both a wear point and a safety issue – inspect it before it fails.
- Buying a part before confirming the brand and model. A remote or roller that doesn’t match your unit won’t work or won’t last. Match the part to the nameplate.
- Trying to wind a torsion spring yourself. This is the one DIY line you never cross. The stored energy can injure you in an instant.
See the difference
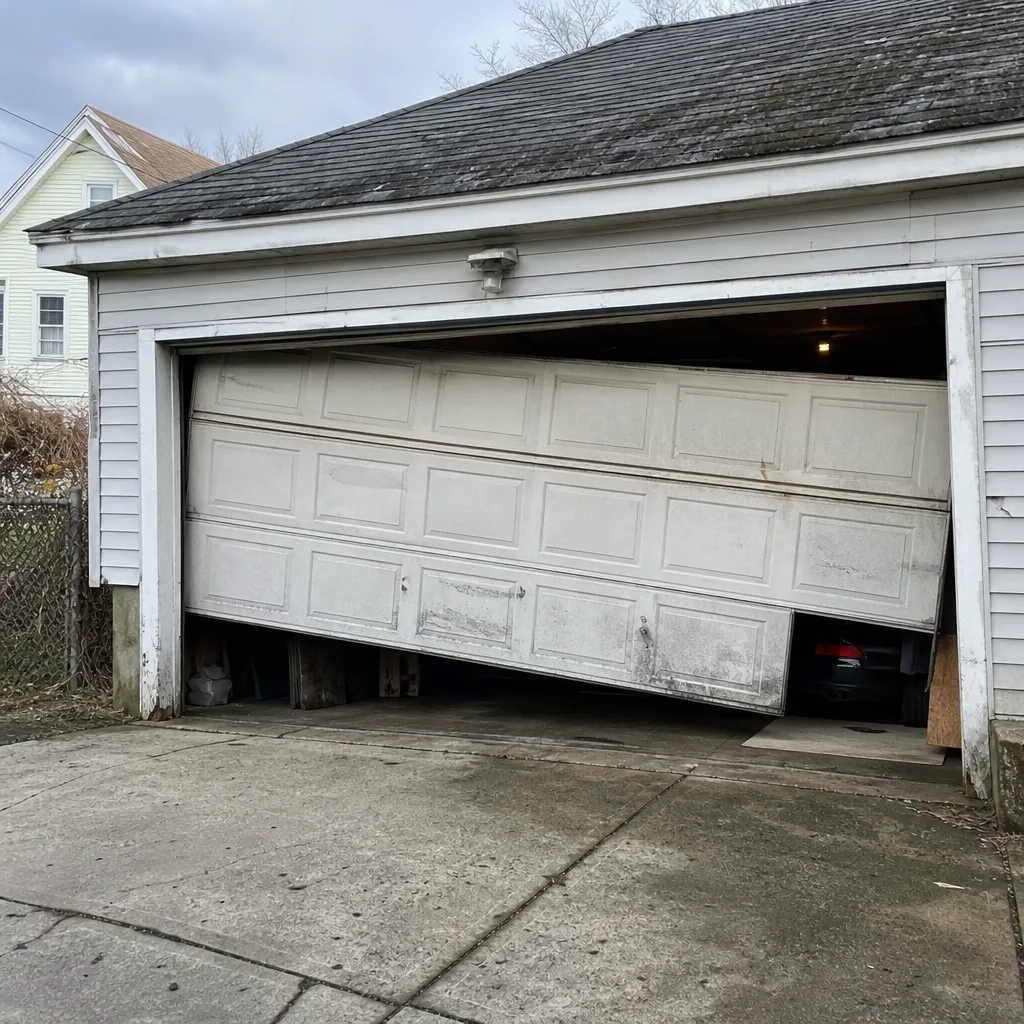 Before
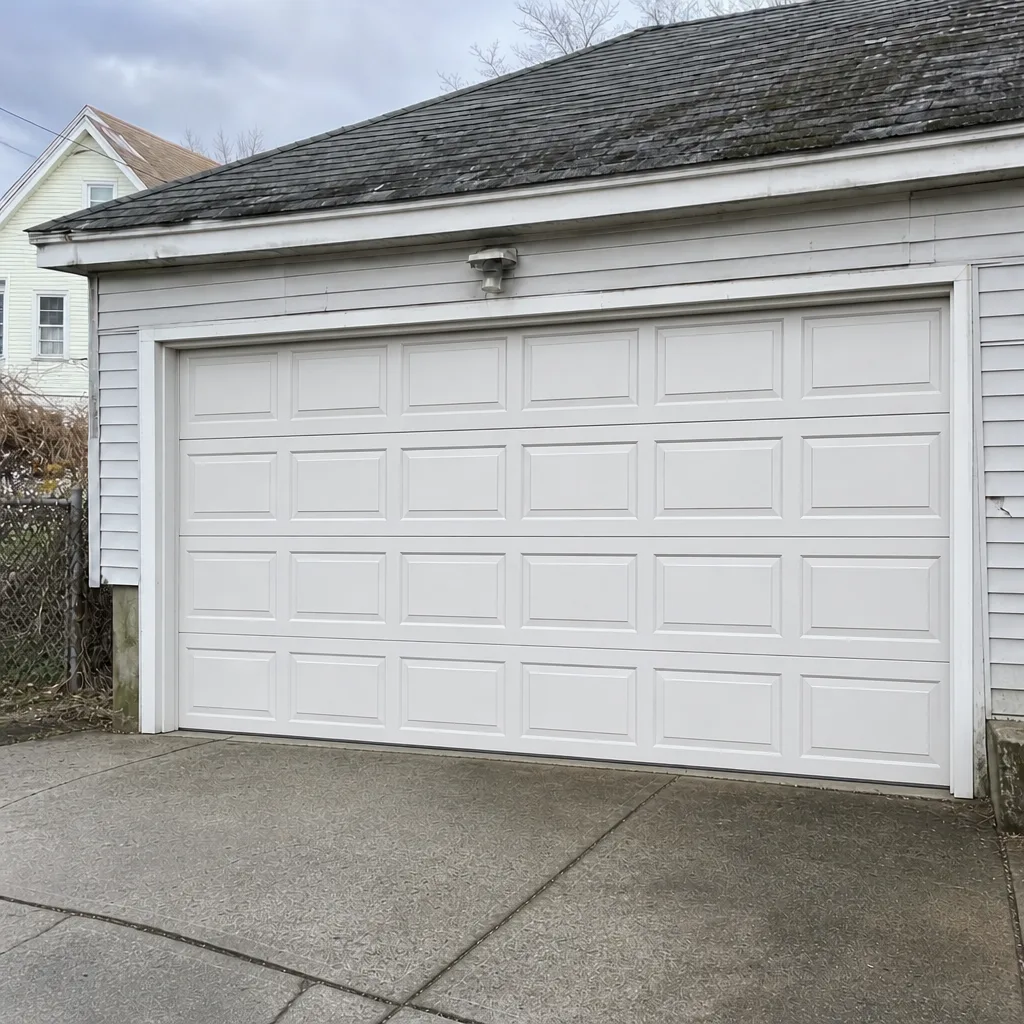 After
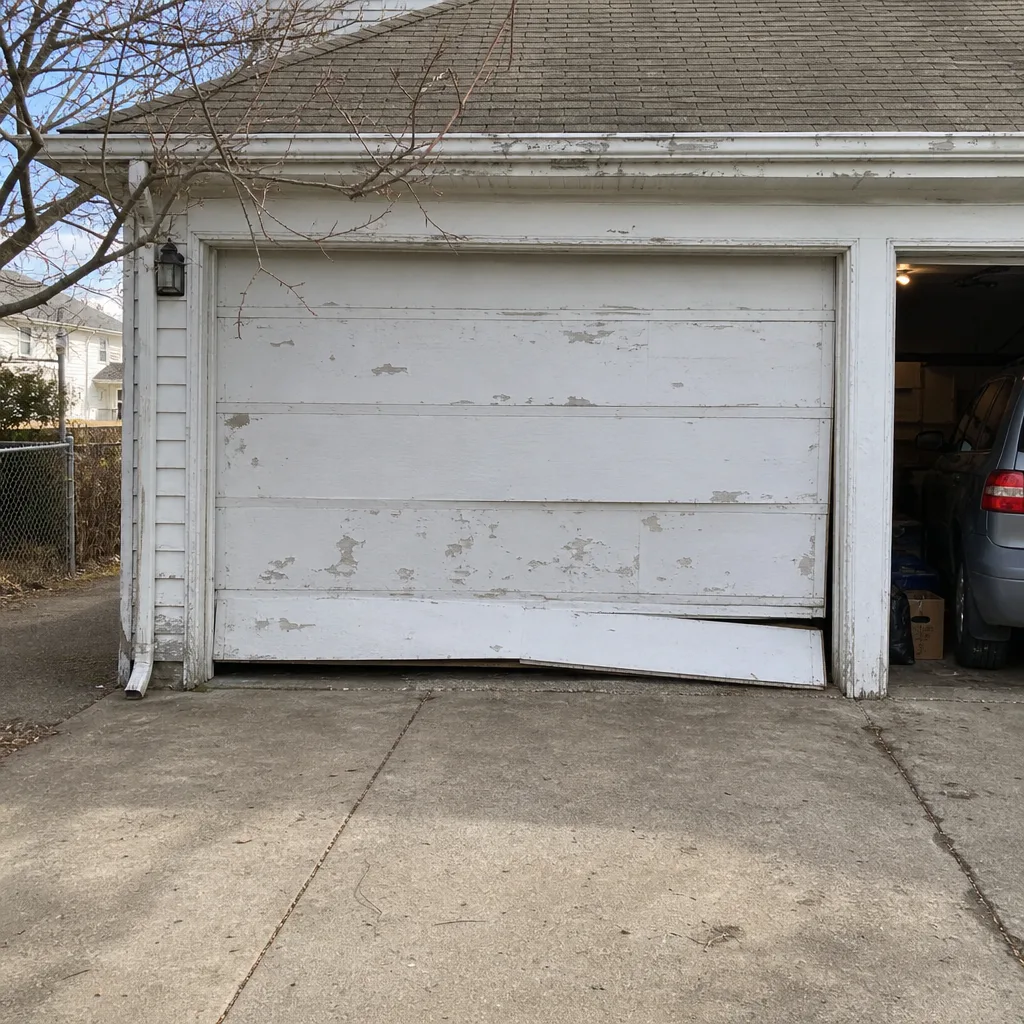 Before
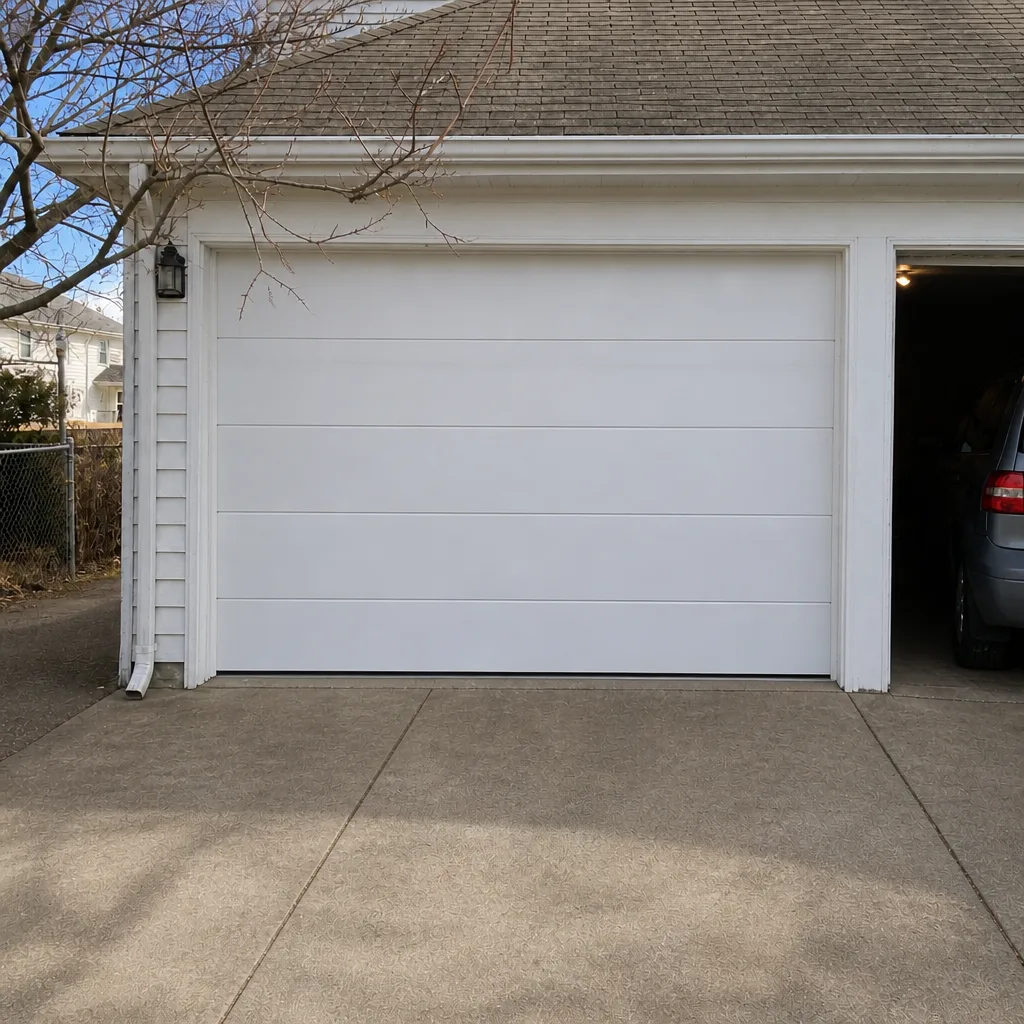 After
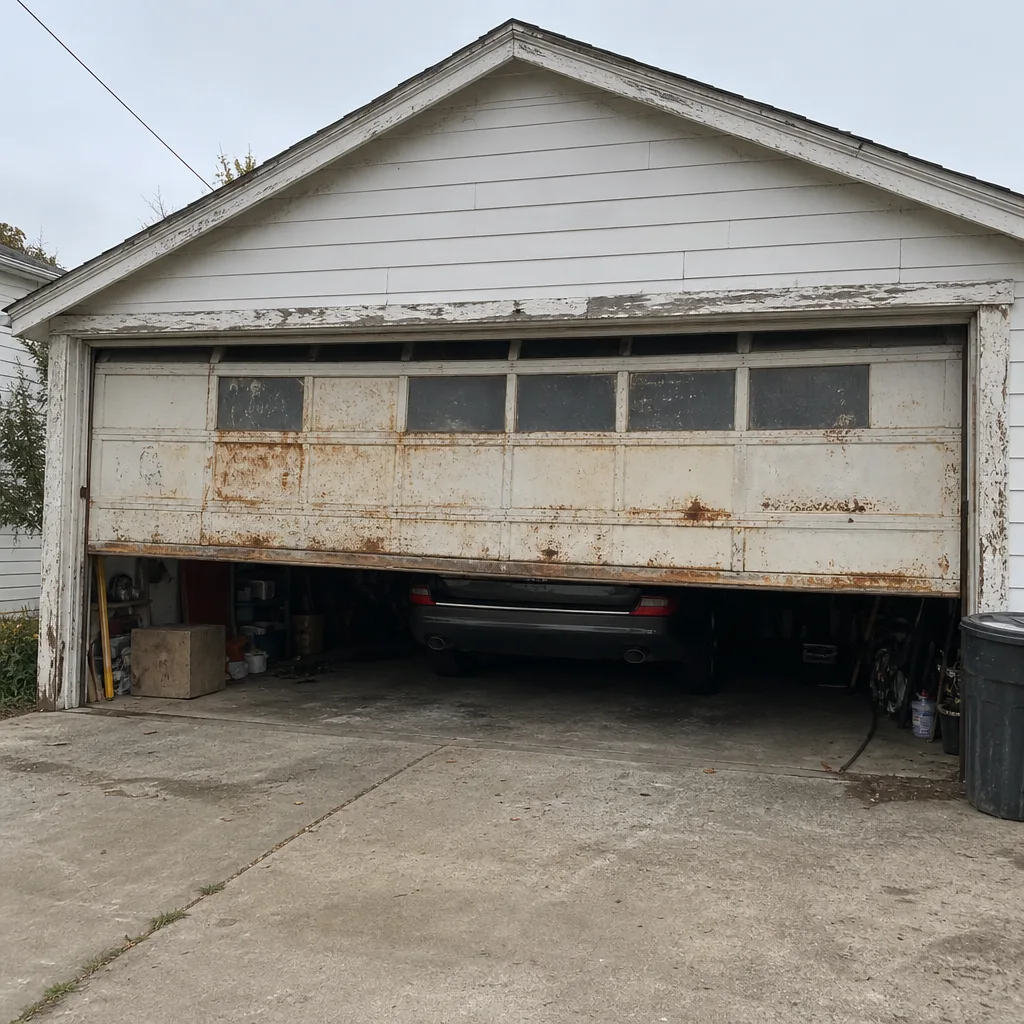 Before
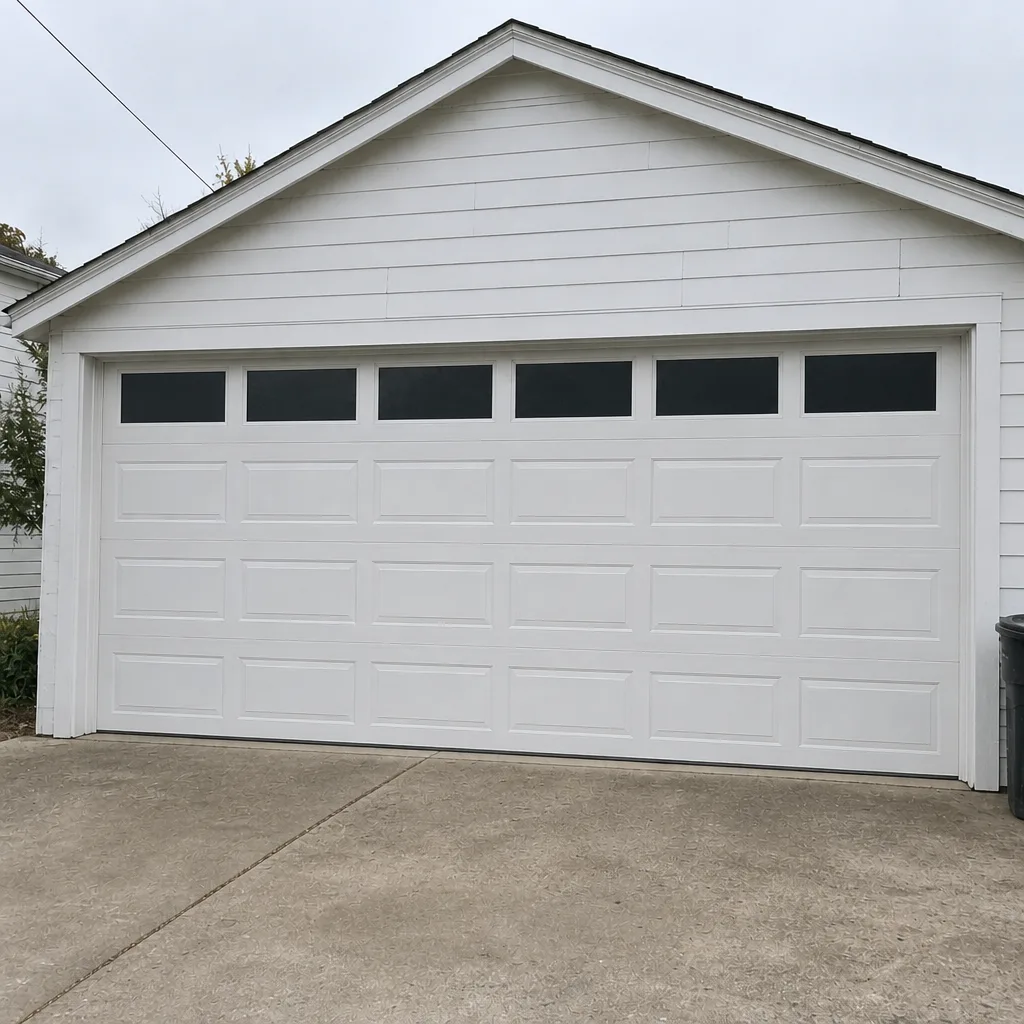 After
When to Call a Professional
Call a technician when the fix involves a spring, a cable, a cable drum, or a bottom bracket – anything under tension. Call when the door hangs crooked, when the opener strains and stops, when a door drops fast, or when you’ve worked the sensor and opener checklists and the door still misbehaves. Call when the logic board or motor is failing, or when the tracks are bent and the door won’t travel true. These are the jobs where the wrong move risks injury or turns a small repair into a big one. East Boston Garage Door Repair offers free estimates in East Boston – call (877) 367-9149 and we’ll tell you what’s actually wrong and what it takes to fix it. The price is quoted and agreed before any work starts.
Frequently Asked Questions
Check the floor sensors first. A blinking sensor light means the safety beam is broken or misaligned, and that alone stops the door from closing. Wipe the lenses, clear any obstruction, and nudge each bracket until both lights go solid. If the door still won’t close, call (877) 367-9149 for an exact quote – estimates are free.
A broken torsion spring usually makes a loud bang and leaves a gap in the coil above the door, with the door heavy and even. A snapped cable usually leaves the door crooked, with a frayed or loose cable near a bottom corner. Neither is safe to inspect by hand under tension, so keep the door closed and call a technician. Reach us at (877) 367-9149 for a free estimate.
Yes – rollers, hinges, and lubrication are safe for a homeowner when the door is fully down and the opener is off. Match the part to your door’s brand and model so it seats correctly. Parts are available directly from us if you need the right component, and the estimate is free if you’d rather we do it: (877) 367-9149.
A wall button that works while the remote doesn’t points to the remote, its battery, or the opener’s receiver – not the motor. Swap the battery, test a second remote, and re-pair following your brand’s steps. If every remote fails but the button works, the receiver likely needs a technician. Call (877) 367-9149 for an exact quote.
Wet winters and humid summers are hard on the hardware near the floor – bottom brackets, rollers, and hinges rust and stiffen faster. Inspect the bottom corners each year and replace a seized roller before it damages the track. If hardware is failing across the door, call (877) 367-9149 – estimates are free.
No. We quote the price and agree it with you before any work starts, so the written estimate is what you pay. The only surprises come from problems nobody quoted, and we’ll always explain those before touching anything. Call (877) 367-9149 for a free estimate.
The Bottom Line
Most garage door problems in East Boston trace back to three root causes: hardware wear, sensor misalignment, and spring fatigue. Diagnose in that order – check the easy, safe things first, and leave springs, cables, and drums to a technician. The sensor and opener checklists catch a large share of “won’t close” and “remote won’t work” calls without a service visit. Watch the bottom brackets and rollers in wet seasons, match parts to your brand, and choose repair or replacement based on what’s actually worn, not on a sales pitch. When a fix crosses the line into tension work, that’s the moment to call.
If you’re not sure which problem you’re facing, tell us the symptom and the brand on your door and we’ll point you in the right direction. Call (877) 367-9149 for a free estimate – the price is quoted and agreed before any work begins.
Written by the team at East Boston Garage Door Repair.