Last updated November 21, 2026
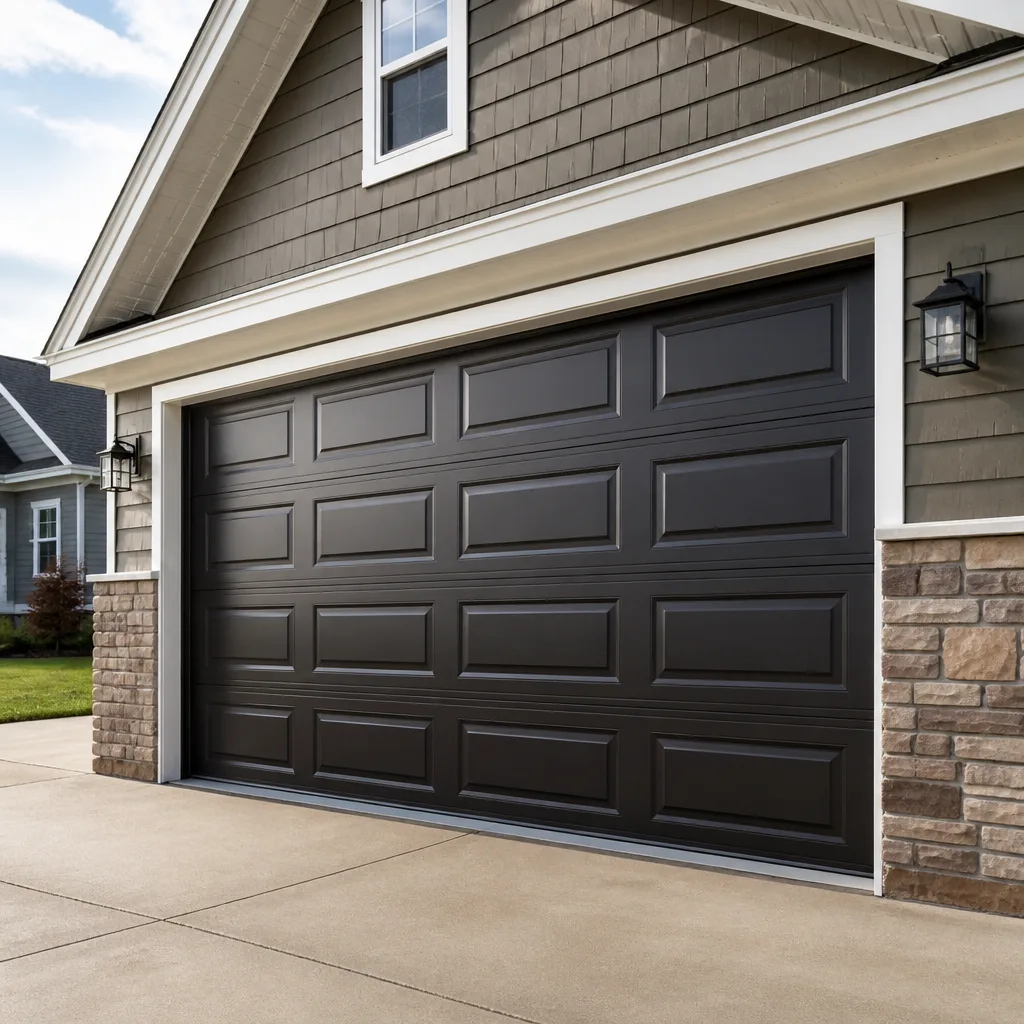 Raised-panel steel
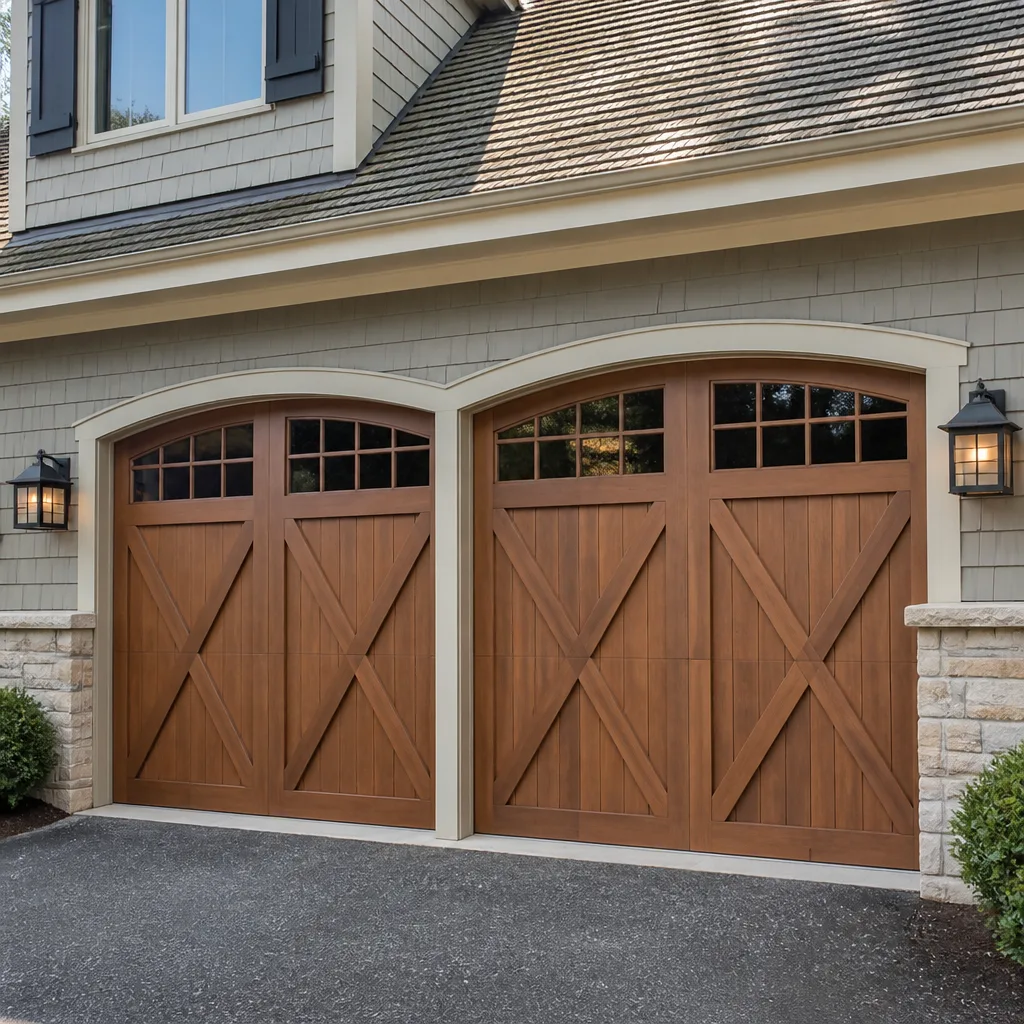 Carriage house
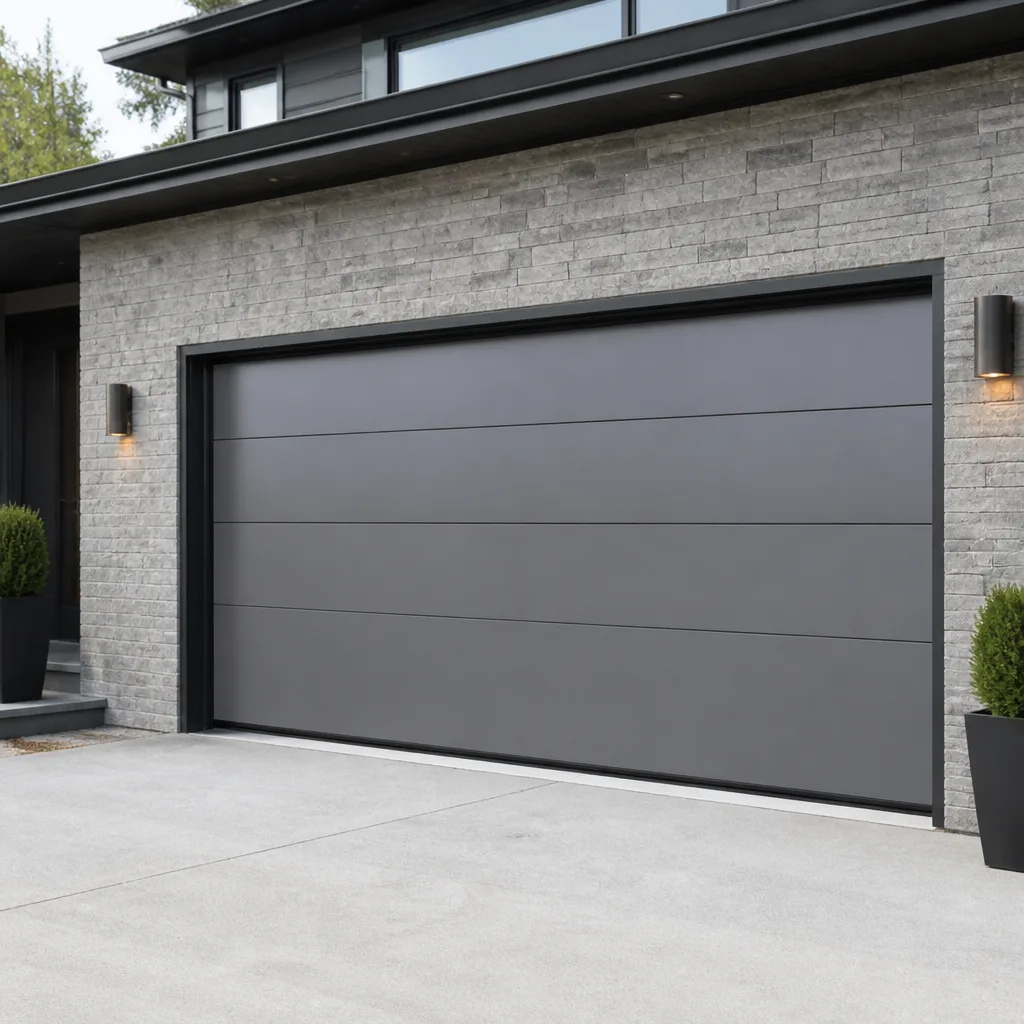 Modern flush
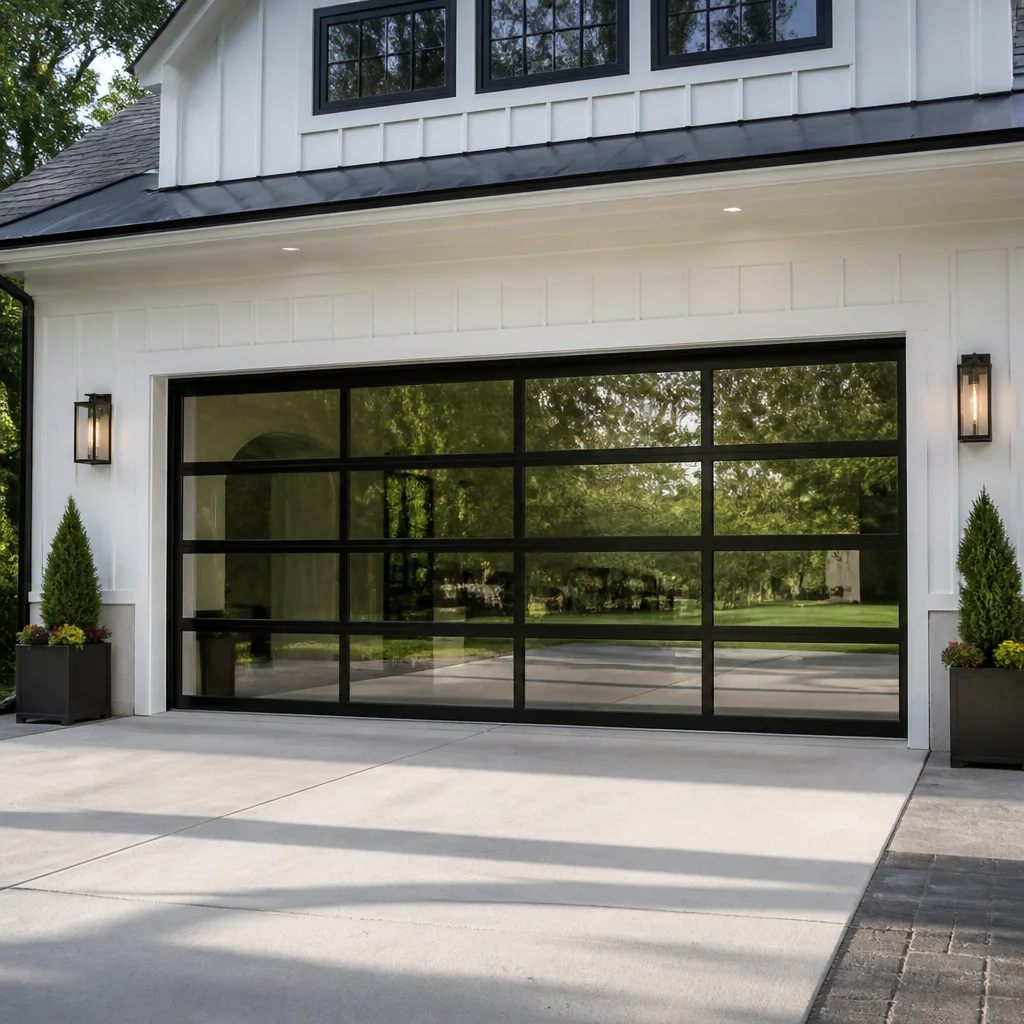 Full-view glass
 LiftMaster openers
 Chamberlain openers
Full 25-point door and opener safety check with every visit - springs, cables, rollers, tracks, and your LiftMaster or Chamberlain opener included
You get a price before we start. It does not change when the pro arrives.
Get your free estimateGarage Door Repair Maintenance Checklist for East Boston Homeowners
“Lubricate the hinges every six months” is the garage door equivalent of “eat healthy.” It sounds right and helps no one. The advice that actually prevents a stranded car is far more specific: which coil gap on a torsion spring signals fatigue, what cable fraying looks like where it wraps the drum, how a flat spot on a roller announces itself before the door starts shimmying, and why a can of WD-40 in the wrong spot can set you back further than doing nothing. This guide walks the full inspection in the order that makes sense, points out what’s safe to handle yourself and what isn’t, and gives you a clear picture of how a garage door system ages in East Boston’s freeze-thaw winters.
Quick Answer
A workable garage door maintenance checklist covers five systems in sequence: springs (coil gaps and winding condition), cables (fraying at the drum), rollers and hinges (wear and lubrication), the bottom seal and weatherstripping (compression and adhesion), and the opener (balance, travel limits, and safety reverse). Homeowners can safely inspect all of these and lubricate rollers, hinges, and tracks themselves. Spring tension adjustment and cable work should go to a trained technician because both store lethal energy.
Styles & brands we work with
- Raised-panel steel
- Carriage house
- Modern flush
- Full-view glass
- LiftMaster openers
- Chamberlain openers
Table of Contents
- The Inspection Order That Actually Catches Problems
- Step 1: Reading Your Torsion or Extension Springs
- Step 2: Cable Fraying at the Drum
- Step 3: Roller Wear Patterns and Hinge Play
- Step 4: Bottom Seal Compression and Weatherstripping
- Which Lubricant Goes Where (and What Never to Use)
- Step 5: Testing Balance and Limits on Common Openers
- DIY-Safe Items vs. Call-a-Pro Items
The Inspection Order That Actually Catches Problems
Order matters because each check builds on the one before it. If you start at the opener and work backward, you’ll misread a door that’s binding in the tracks as an opener problem and waste a service call. Inspect the mechanical parts first, then the opener last. That sequence tells you whether the door itself is fighting the motor or the motor is failing on its own.
Here’s the full sequence, and it takes about twenty minutes for a homeowner who’s done it once:
- Springs. Look at the coils and the winding cones.
- Cables. Trace each cable from the bottom bracket up to the drum.
- Rollers and hinges. Check for flat spots, cracks, and loose hinge plates.
- Bottom seal and perimeter weatherstripping. Check compression and adhesion.
- Tracks. Look for dents, debris, and misalignment.
- Balance test. Manually raise the door halfway and let go.
- Opener safety reverse. Test the auto-reverse with a solid object.
- Travel limits. Confirm the door closes fully without over-traveling.
East Boston’s housing stock complicates this. Triple-deckers often have detached or shared garages where the door faces an alley or a narrow driveway, and those doors take more lateral abuse from tight clearances than a suburban door ever does. Wood doors on older buildings also carry moisture differently than steel, so the bottom corners age faster. Keep that in mind as you work through each step.
Step 1: Reading Your Torsion or Extension Springs
Springs are the first thing to check and the last thing you should touch. A torsion spring mounts horizontally above the door on a shaft; an extension spring runs along each side track. Either one holds enough stored energy to cause serious injury if it releases under load. You’re inspecting, not adjusting.
On a torsion spring, look at the coil gaps. A healthy spring has tightly wound coils with even spacing. Widening gaps, especially near the center or the ends, indicate the spring is losing tension and heading toward failure. On extension springs, look for gaps between coils and check that the safety cables running through the center of each spring are intact. If the spring looks stretched or shows visible gaps when the door is closed, it’s fatigued.
Listen too. A sharp bang from the garage, especially during a cold snap, is the classic signature of a torsion spring breaking. East Boston’s winter temperature swings put real stress on these parts, so a door that’s quiet in October can snap in January without warning.
What you’re looking for, in order:
- Torsion coil gaps – uneven spacing or wide gaps mean the spring is losing tension.
- Winding cone position – the set screws should be tight and the cone flush.
- Extension spring gaps – open coils under load indicate fatigue.
- Safety cable presence – extension springs should have a cable running through them.
- Corrosion on the coils – surface rust is fine; deep pitting is not.
If any of those turn up a problem, stop the inspection and call. A garage door with a failing spring is one use away from stranding a car. Spring replacement is a core part of what we handle here in East Boston, and we’d rather see it before the door jams.
Step 2: Cable Fraying at the Drum
Cables do the lifting work the springs can’t, and they fail in a very specific place: where they wind onto the drum at the top corner of the door. Trace each cable from the bottom bracket up to the drum and look closely at that last six inches.
What to look for:
- Frayed strands – a cable with broken wire strands near the drum is failing. Don’t run the door.
- Kinks or flat spots – a kinked cable indicates it jumped the drum at some point and never reset.
- Rust at the drum junction – a cable that’s corroded where it meets the drum weakens there first.
- Uneven winding – the cable should stack neatly on the drum, not cross over itself.
Cables are not a DIY repair. Adjusting or replacing one requires releasing spring tension first, and doing it wrong can send the door crashing. This is a job for a trained technician. If you see fraying, keep the door closed and call.
Step 3: Roller Wear Patterns and Hinge Play
Rollers are the most forgiving part on the door and the one that quietly degrades everything around it. A worn roller doesn’t just make noise – it transfers vibration to the hinges and the tracks, and over time that shakes the whole assembly loose.
Inspect each roller where it meets the track. A healthy roller is round and true. A worn one shows a flat spot, a crack, or a wobble. Steel rollers develop flat spots; nylon rollers crack and chip. Rollers ride in the hinges, so check each hinge plate for looseness while you’re at it. A hinge that wiggles when you tap it needs its screws tightened or, if the holes have wallowed out, a technician’s attention.
East Boston doors that sit on alley-facing garages often have rollers that wear unevenly because the door racks slightly every time it opens on a tight, sloped approach. Watch for one side wearing faster than the other – that’s a track alignment question, not just a roller question.
Use these wear patterns:
- Flat spot on one roller – that hinge is bearing more load than the others.
- Cracked nylon roller – replacement time; they’re inexpensive parts.
- Noisy roller – usually lubrication, sometimes wear.
- Hinge screws backing out – vibration from a worn roller or a worn opener.
Rollers and hinges are genuine DIY territory. Our East Boston Garage Door Repair parts supply lets homeowners order rollers, hinges, and other components directly when they want to handle the swap themselves. If you’d rather not, our garage door repair team can handle it alongside a full tune-up.
Step 4: Bottom Seal Compression and Weatherstripping
The bottom seal, also called the astragal, is what keeps wind, rain, and small animals out. It’s the first line of defense East Boston homeowners have against winter drafts and the snowmelt that pools against garage doors in February, and it’s also the easiest part to check.
With the door closed, walk to the inside of the garage. Look at the bottom of the door where it meets the floor. A healthy seal is compressed against the ground – it holds contact along the full width. A failing seal shows daylight, gaps at the corners, or a rubber that’s cracked or torn. Any gap means air and water are getting in.
The weatherstripping around the door frame and the top of the door attaches to the trim, not the door. Check that it’s still adhered – peeling adhesive strips are common. Weatherstripping that’s pulled away can flap in wind and let in drafts, but it’s also easy to replace. Both seals are low-cost components you can purchase directly.
Pay particular attention to wood doors with panels that meet the floor. The bottom corners of the panels can absorb moisture and begin to rot – East Boston’s freeze-thaw cycles are brutal on wood doors that face a windy alley. A soft corner or a swollen panel is a call for a closer look, because rot can compromise the door’s structure. A steel Clopay or Amarr door in good shape rarely has this problem, but many older East Boston garages still have wood doors worth checking.
Which Lubricant Goes Where (and What Never to Use)
Almost every “maintenance” article on the internet says to spray WD-40 on the hinges and call it a day. That’s wrong. WD-40 is a water-displacer and light solvent – it’s fine for unsticking a bolt, but it’s not a lasting lubricant for door hardware, and on a torsion spring it’s actively a problem because it attracts grit and leaves the spring in worse shape than before.
Here’s what to use where:
- Rollers: silicone spray. It’s dry, won’t attract dirt, and works on both metal and nylon rollers.
- Hinges: a light white lithium grease or a purpose-made garage door lubricant. A drop on each hinge pivot at the start of each season.
- Torsion springs: nothing. Springs are not lubricated. Do not spray oil on them.
- Track surfaces: nothing. Tracks stay clean and dry. Debris causes binding; oil causes debris.
- Opener chain: a light grease if the opener uses a chain drive, and only per the manufacturer’s guidance.
The principle is simple: anything that moves against itself gets a dry or purpose-made lubricant; anything designed to stay clean (tracks, springs) gets left alone. This is where the general “lubricate every six months” advice breaks down – it tells you nothing about which parts should never see a spray can. The charts by brand (LiftMaster, Chamberlain, Genie, Craftsman all publish their own guidance for their opener hardware) are worth following for anything under a motor.
Step 5: Testing Balance and Limits on Common Openers
The opener is last because it can only do its job correctly if the door is balanced. A door that’s out of balance makes any opener strain, and that’s the number one reason motors die before they should.
The balance test is the same for every brand, no special tools:
- Disconnect the opener by pulling the emergency release cord.
- Raise the door by hand to about the halfway point.
- Let go. The door should hold roughly in place. If it drops, the springs are too weak. If it rises, they’re too strong.
- Lower it fully by hand and confirm it moves smoothly without binding.
If the door fails the balance test, don’t reconnect the opener. That’s a spring issue, and it goes to a professional.
For the auto-reverse safety test, put a 2×4 on the floor under the door and lower it. When the door contacts the board it should stop and reverse within a couple of inches. If it presses down on the board before reversing, the travel and force limits need adjustment. Every opener has this test in its manual, and it works the same whether you’re looking at a LiftMaster, a Chamberlain, or an older Genie unit.
Smart-home openers have one extra step: confirm the app and phone connection stay live after any travel limit change. A limit reset can drop the Wi-Fi pairing on some models, and reconnecting it while you’re up on a ladder is easier than discovering the problem from the driveway. If diagnostics start pointing at the opener itself – flashing codes, phantom reversing, a motor that runs but doesn’t lift – our garage door opener repair handles every major brand, smart and legacy. And when a door is genuinely past saving rather than just worn, our garage door installation service walks the replace-vs-repair decision with you honestly.
DIY-Safe Items vs. Call-a-Pro Items
The honest line between what a homeowner should tackle and what a technician should take on comes down to stored energy and door weight. Anything that adjusts tension, weight, or alignment of the door’s lifting mechanism is a call. Everything else is fair game if you’re comfortable on a short ladder.
Safe for a homeowner:
- Lubricating rollers and hinges with the correct products.
- Visual inspection of springs, cables, and the drum junction.
- Replacing the bottom seal.
- Replacing weatherstripping around the door and frame.
- Running the balance test and the auto-reverse safety test.
- Tightening loose hinge screws.
- Cleaning the tracks and sweeping out debris.
- Swapping rollers on a door you’ve stabilized on the ground with the opener disconnected.
Requires a technician:
- Spring adjustment or replacement.
- Cable replacement or re-winding.
- Track realignment.
- Opener limit and force programming.
- Any work with the torsion shaft and its winding cones.
Our technicians have up to 15 years of experience reading a door’s wear patterns and diagnosing the difference between a part that’s worn and a part that’s failing. We work on Clopay, Amarr, and every other major brand that ends up on East Boston garages. If you’re not sure which side of the line a task falls on, ask before you start – that call costs nothing and can save a lot.
Common Mistakes to Avoid
- Spraying WD-40 on the springs. It’s a solvent, not a lubricant, and it attracts grit. Springs should be left clean and dry.
- Winding or unwinding spring tension yourself. This is the single most dangerous repair in the trade. A released torsion spring can break a wrist or worse. Call.
- Reconnecting the opener before rebalancing the door. An unbalanced door strains the motor and shortens its life. Fix the balance first, then the opener.
- Replacing one spring when the pair is fatigued. Matched springs are usually replaced together; one fresh spring next to a tired one loads the new spring and the door unevenly. Ask your technician before assuming a single replacement is right.
- Ignoring noise on a cold morning. East Boston winters can drop a door’s operating temperature hard, and a groan that wasn’t there in the summer is often the first sign of a hinge or roller that needs attention.
- Skipping the balance test after moving in. If you just bought a triple-decker with a detached garage, run the full checklist once before trusting the door on a daily basis.
- Assuming a new opener will fix the door. If the door is binding or unbalanced, a new opener will fail the same way the old one did. Diagnose the door first.
See the difference
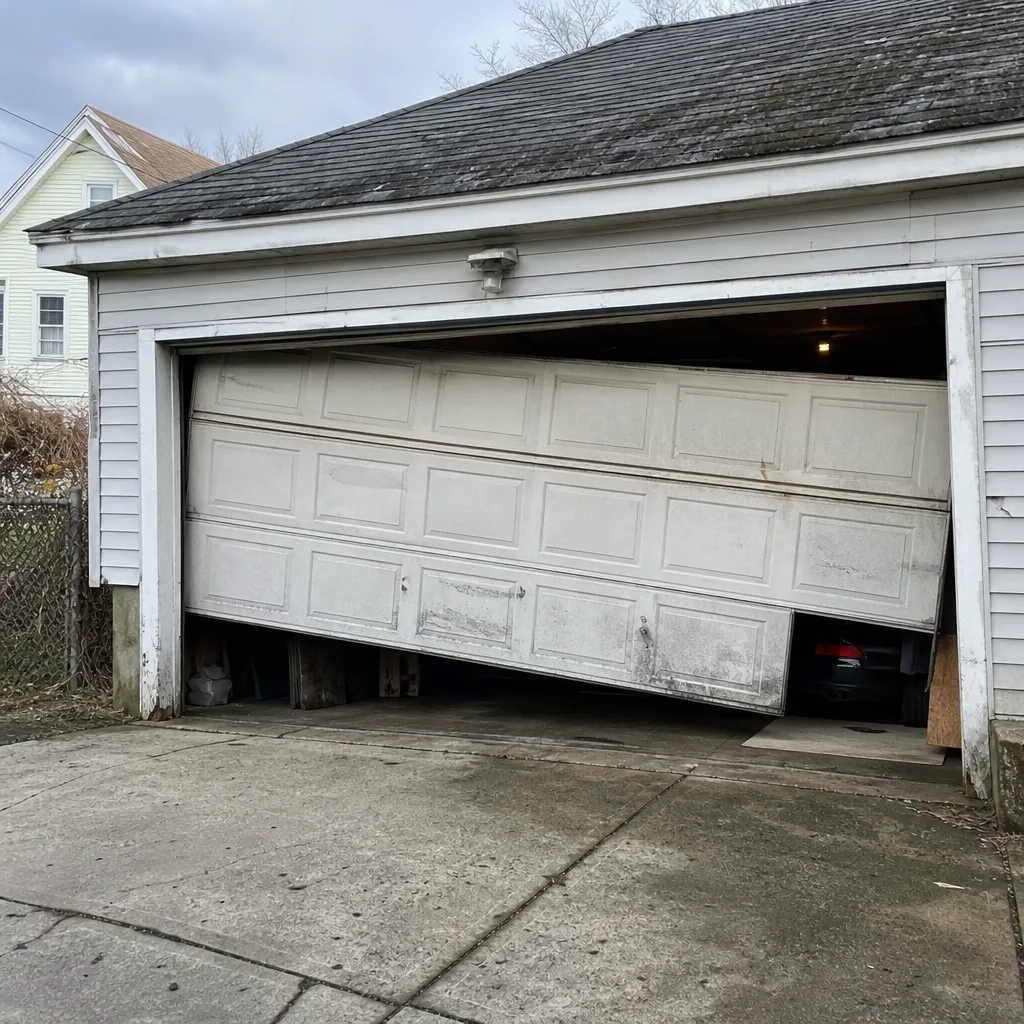 Before
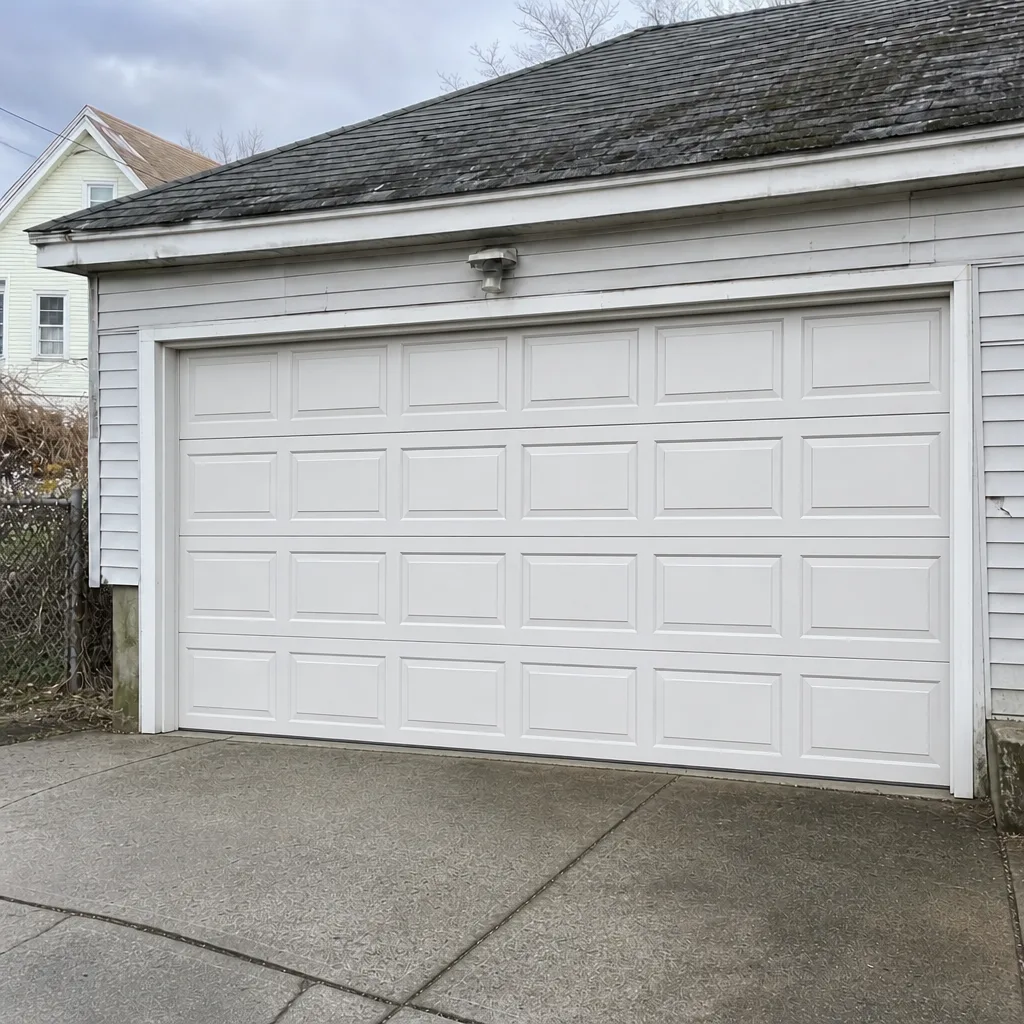 After
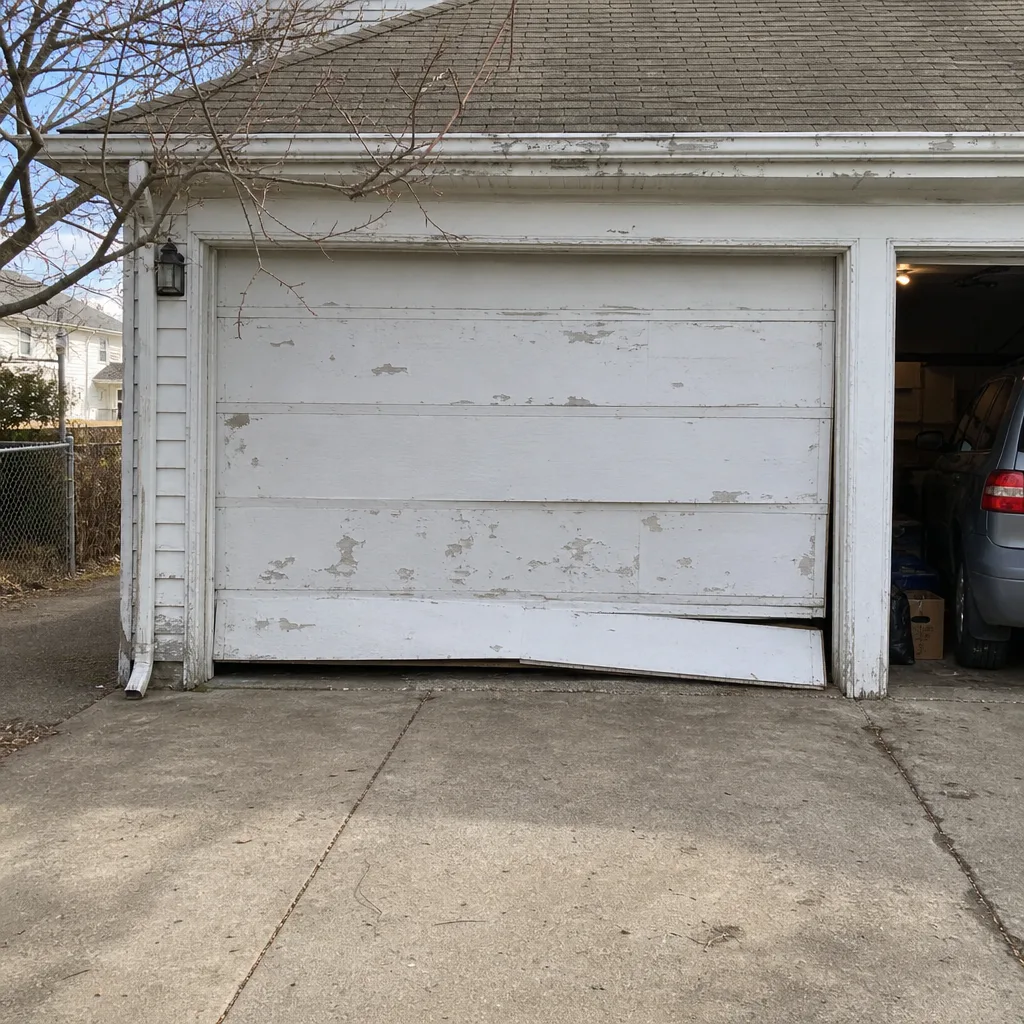 Before
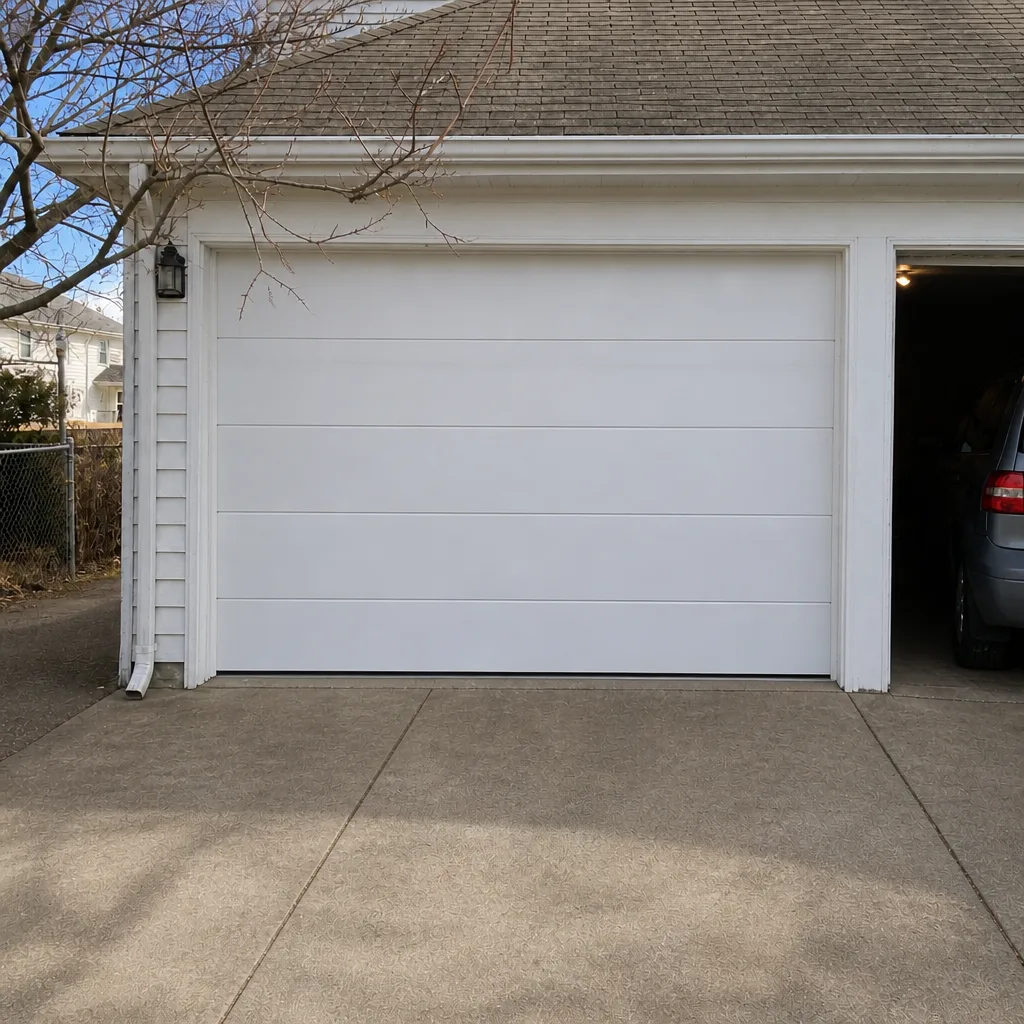 After
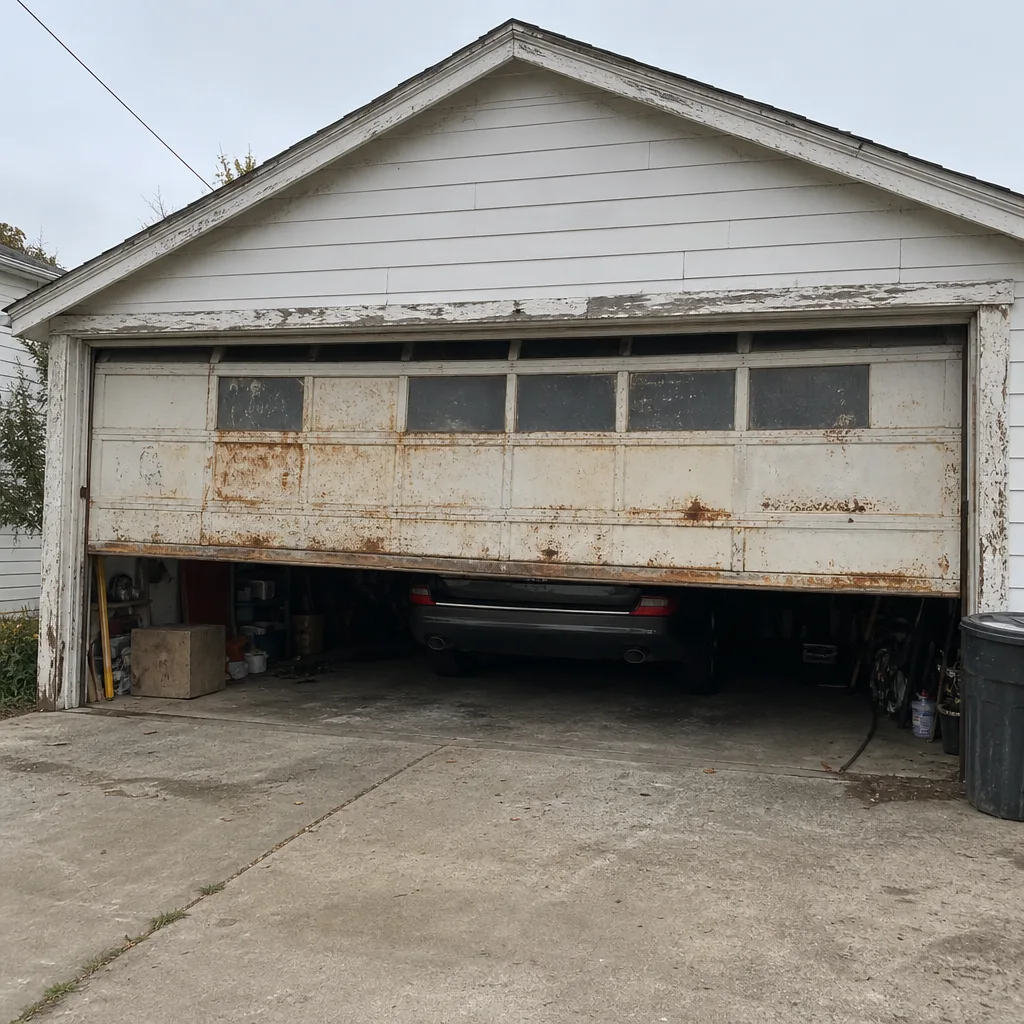 Before
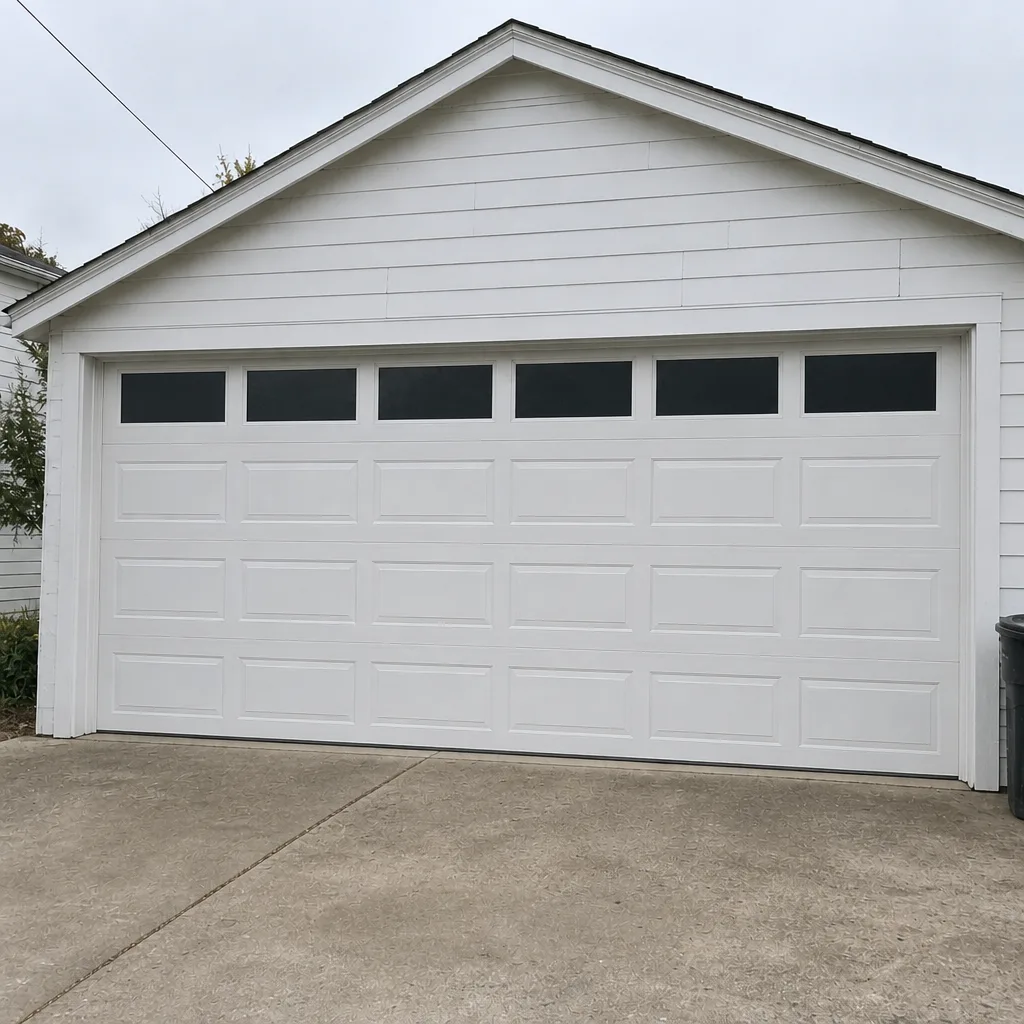 After
When to Call a Professional
Call a technician if you spot a gap in the torsion spring coils, frayed cable strands at the drum, a door that fails the balance test, or a bottom seal gap you can’t close with weatherstripping. Call immediately if you hear a bang from the garage, if the door starts moving unevenly, or if the opener reverses in the middle of travel for no clear reason. These are the cases where the repair is neither small nor safe to attempt alone, and where waiting will almost always cost more. East Boston Garage Door Repair offers free estimates in East Boston – call (877) 367-9149 to get an exact price in writing before any work starts.
Frequently Asked Questions
Run the full checklist twice a year, once in the fall before winter temperatures drop and once in the spring after the freeze-thaw season. East Boston’s winters ask more of a garage door than a milder climate does, and the fall check is the one that catches problems before they become an emergency. Call (877) 367-9149 if your check turns up anything you’re unsure about – estimates are free.
No. Torsion and extension springs hold enough stored energy to cause serious injury, and adjusting tension is a job for a trained technician. Do the visual inspection – coil gaps, cable fraying, drum condition – and call a professional for anything past that. Call (877) 367-9149 for a free estimate.
Look at the last few inches of cable where it winds onto the drum at the top corner of the door. Fraying appears as broken wire strands or a fuzzy edge, and kinks or flat spots are also signs the cable jumped the drum. Any of these means stop using the door and call. Call (877) 367-9149 – we work with every major brand.
A sharp bang from the garage, especially in cold weather, usually points to a torsion spring breaking or giving way. It’s one of the most common calls we get in East Boston during January and February. Don’t run the opener again after that sound – call (877) 367-9149 and keep the car out until a technician sees it.
No. WD-40 is a water-displacer, not a lasting lubricant, and it attracts grit on hinges. Use silicone spray on rollers, a light lithium grease on hinges, and leave tracks and springs alone. If you’re not sure which part gets which product, call (877) 367-9149 and we’ll walk through it.
It can be either, but it’s rarely a “broken” opener. The most common causes are a door that’s out of balance, a travel limit that’s drifted, or a safety sensor that’s misaligned or dirty. Run the balance test first – if the door holds halfway, the problem is likely the opener or sensor, not the springs. Call (877) 367-9149 for a free estimate if the answer isn’t clear.
The Bottom Line
A garage door maintenance checklist is only useful if it tells you what to look at, in what order, and what each failing part actually looks, sounds, and feels like. Springs, cables, rollers, seals, and the opener are the five systems worth checking, and each one has a clear set of signs that separates “worn” from “failing.” Most of the visual inspection and lubrication is safe to do yourself. Anything that touches spring tension or cable winding is a call every time. East Boston’s freeze-thaw winters make the fall inspection the one that matters most, and the door on your garage deserves a real look before the cold sets in.
If any part of the checklist turns up a problem, East Boston Garage Door Repair is one call for repair, spring work, opener diagnostics, installation, and parts – whatever brand is on your garage. We’ll give you a clear read on whether repair or replace actually makes sense, and the price is quoted and agreed before any work starts. Call (877) 367-9149 for a free estimate.
Written by the team at East Boston Garage Door Repair.